
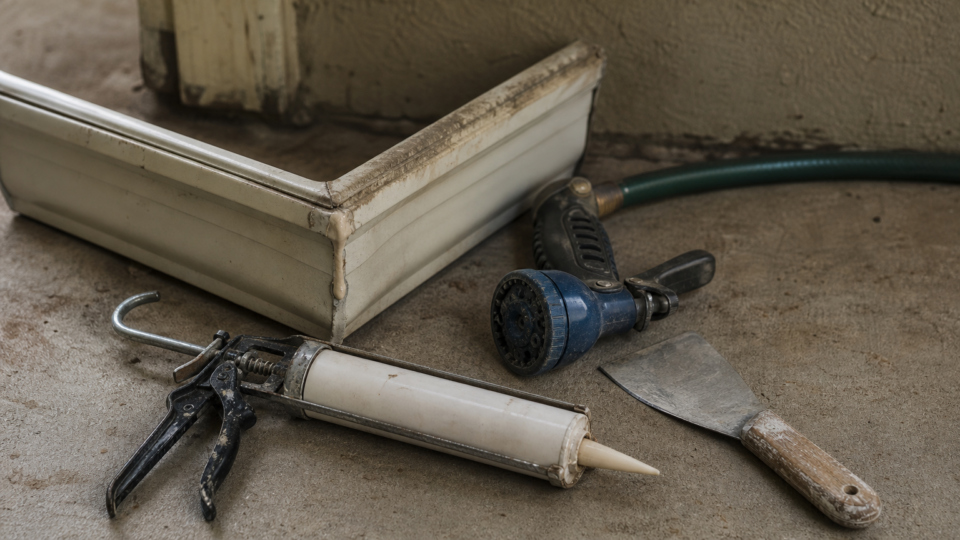
Short answer: To stop leaking gutters at joints, find the exact spot where water escapes, fix whatever is holding water there (a clog, a low spot, a loose hanger), scrape out the old sealant, and reseal the clean, dry joint with a sealant made for your gutter material. Let it cure, then test it with a hose. Smearing caulk over the drip without fixing the cause is why most joint leaks return within a season. Ready for quotes? Compare local pros →
In this guide
Joint leaks are frustrating because they start small. A drip at a corner stains the fascia, soaks the soffit, and sends water down beside your foundation. You may have already run a bead of caulk over the seam and watched the drip come back a few weeks later. The joint looks sealed, but water keeps finding a way through.
This guide walks you through the repair in four steps, for both metal and plastic gutters. You will learn why joints fail, how to trace a leak to its true source, which sealant to use, and when a repair stops making sense. Guardian Gutter Guide’s content is written by a former gutter installer and reviewed by a home inspector, so the advice here reflects what holds up on a real roofline.
Why gutters leak at joints
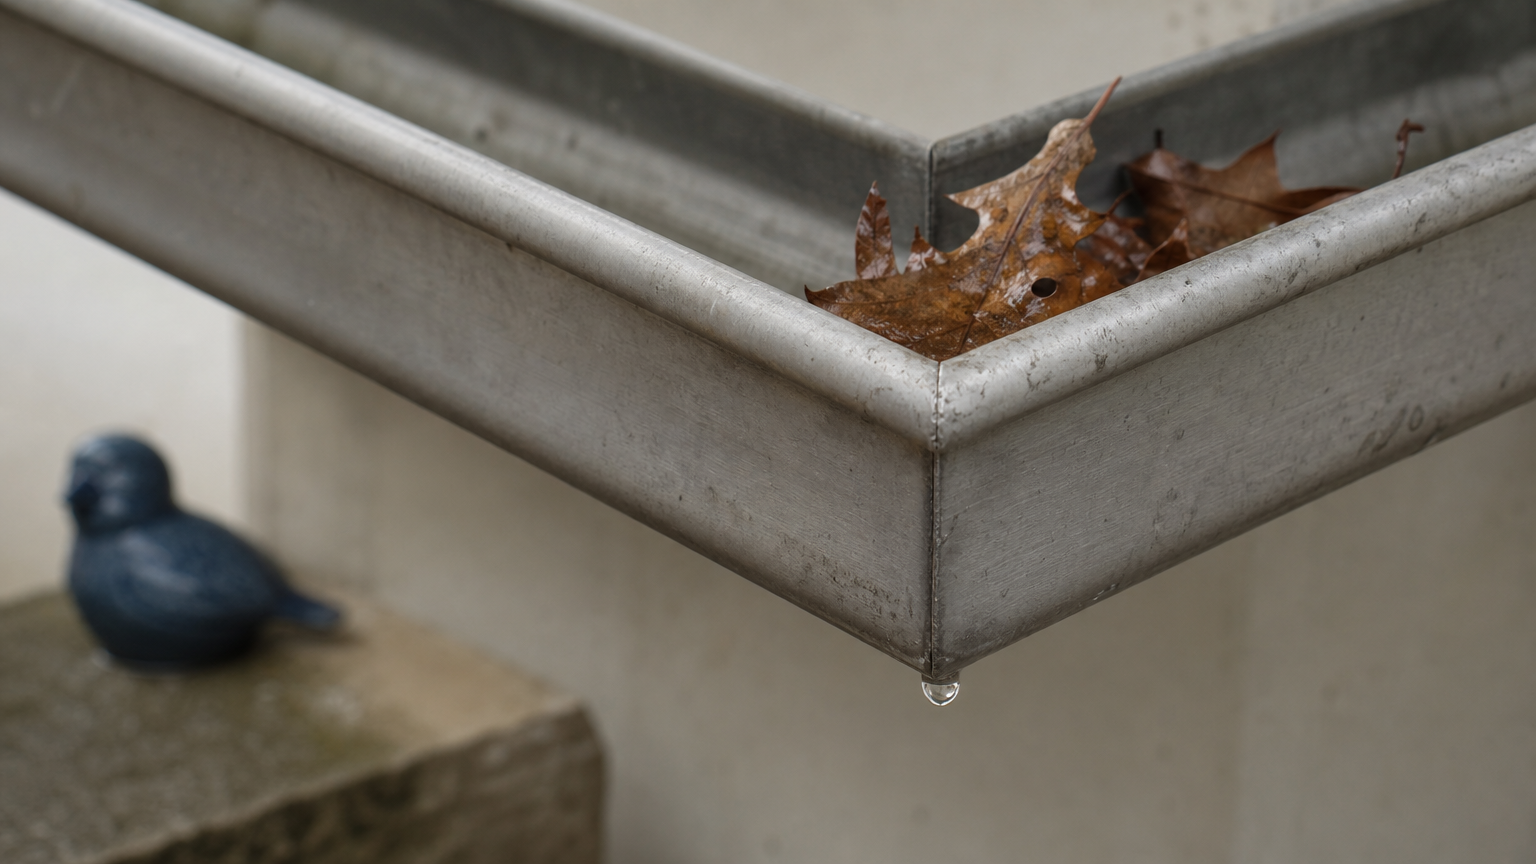
Gutters leak at joints because a joint is the one place where water depends on sealant, a gasket, or a fastener instead of solid material. The rest of a run is continuous aluminum, steel, or vinyl. That is why joints fail long before the middle of a gutter section does.
Where joint leaks start
Each joint type fails for a different reason, so identify yours first. Seamless aluminum gutters have joints only at corners, end caps, and downspout outlets. Sectional gutters in steel or vinyl add a joint about every 10 feet.
| Joint | What usually fails | Typical sign |
|---|---|---|
| Inside or outside corner (miter) | Sealant breaks down under heavy flow | Drip at the corner during rain |
| End cap | Sealant or rivets let go | Drip at the end of the run |
| Downspout outlet | Clog or loose fit | Water pooling or sheeting around the outlet |
| Slip joint or connector | Gasket dries out or shifts | Drip along the seam |
Why sealant fails and leaks come back
Sealant rarely fails on its own schedule. Standing water ages it fastest, so a corner that holds a puddle loses its seal years before a gutter that drains dry. Behind most leaks sits a clog, a low spot, or a loose hanger. Sun and temperature swings finish the job.
Resealing a joint without fixing the standing water behind it is a patch, not a repair.
Plastic adds its own twist. Vinyl expands and contracts with temperature more than metal does, so vinyl joints are built as slip connectors with rubber gaskets instead of rigid seams. When a gasket dries out or shifts, or a sagging run pulls a connector apart, you get leaking plastic gutters even though nothing looks broken.
What should this cost you?
Answer four questions and get a fair price range for your home.
Step 1. Find the real source of the leak
Run a hose test before you touch any sealant, because the drip you see is often not where the water gets out. Water can creep along the underside of a gutter or down the fascia and fall from a joint that is perfectly sound. Tracing the source first is the cheapest way to stop leaking gutters for good.
Run a hose test
Dry the area, then add water in a controlled way:
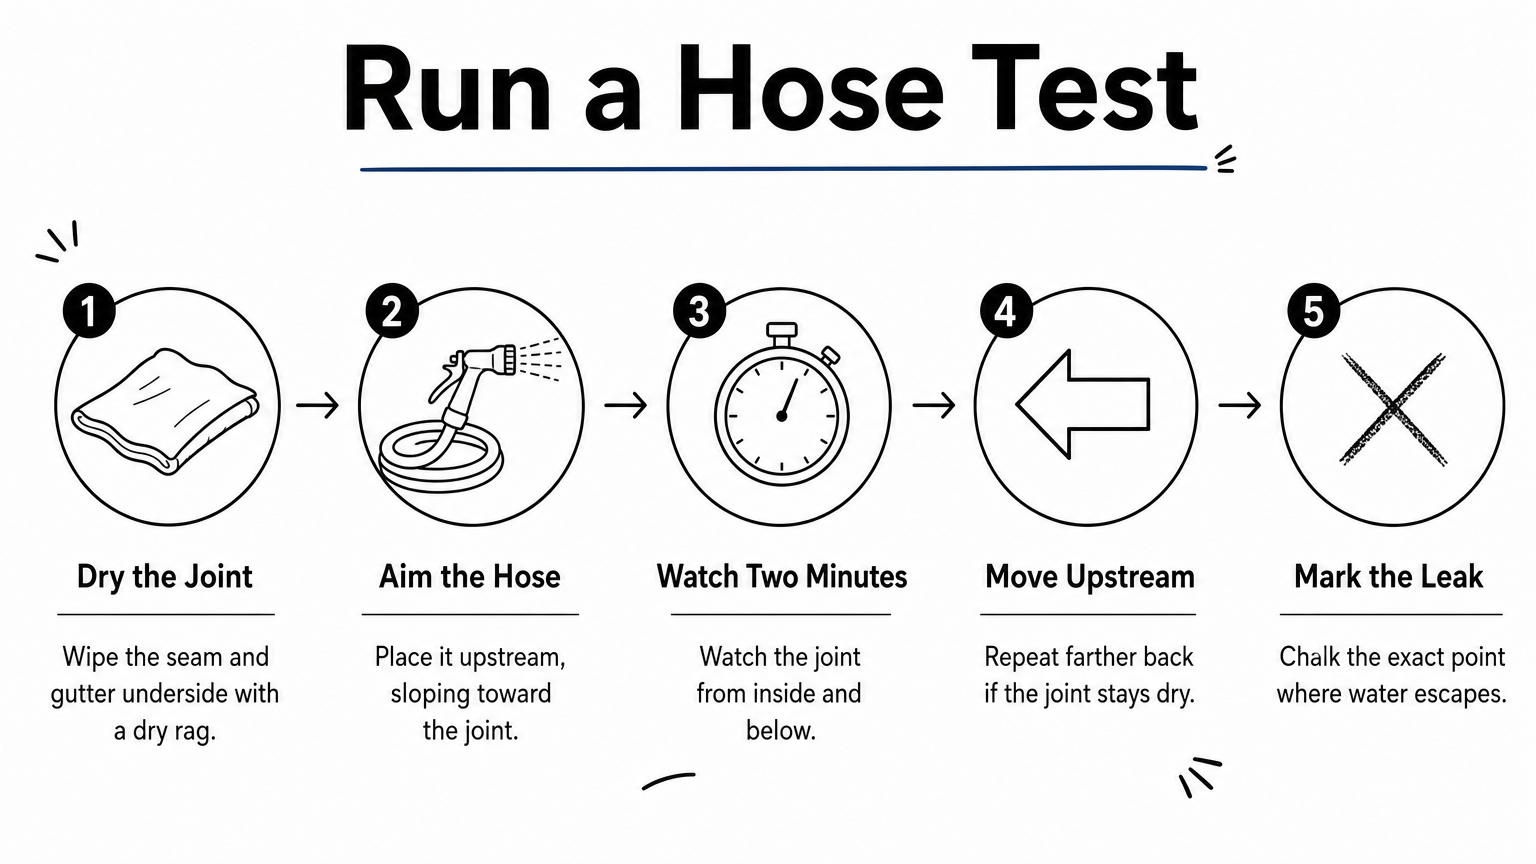
- Wipe the joint and the underside of the gutter with a dry rag.
- Place a hose a few feet upstream of the joint, on the side where the gutter slopes toward it.
- Run a gentle flow and watch the joint from inside the gutter and from below for two to three minutes.
- If the joint stays dry, move the hose farther upstream and repeat.
- Mark the exact spot with a pencil or chalk, and note whether water comes from the seam, a rivet or screw head, or a pinhole.
Set your ladder on firm, level ground, keep three points of contact, and never reach sideways. If the joint sits above a second story or over a steep roof edge, hire it out.
Read the clues around the joint
What you see near the leak points to the cause:
- Water still sitting in the gutter after you shut off the hose means a slope or hanger problem.
- Sludge or a mat of leaves at the joint means a clog that holds moisture against the seal.
- A weak stream from the downspout while the gutter fills means a blocked downspout.
- Rust streaks, flaking, or pinholes along a metal seam mean corrosion, so the sealant is not the only problem.
- A gap at a corner or a vinyl connector that has slid apart means the fit failed, not just the seal.
- A heavy rush of water into an inside corner from a roof valley means the flow overwhelms the sealant.
The leak you see is a symptom, and the clue next to it is the diagnosis.
Step 2. Fix the cause and prep the joint
Fix whatever is holding water first, then strip the joint down to bare, clean material. Sealant only bonds to a clean, dry surface, and it only lasts if water drains away afterward. This is the step that decides whether your repair of leaking gutters at joints survives the next storm.
Fix what holds the water
Clear all debris from the gutter and flush the downspout with a hose. If you would rather not climb a ladder for it, a professional gutter cleaning handles this part. Next, check the pitch. A properly installed gutter drops about a quarter inch for every 10 feet toward the downspout. Lay a level in the gutter or hold a string line along the front edge, and look for dips.
Tighten loose hangers and replace any that have pulled out of the fascia. Add hangers where the gutter sags between supports. Run the hose again, and the water should drain fully within a minute or two of shutting it off.
Strip the old sealant and clean the surface
Scrape out all the failed sealant with a plastic scraper or putty knife. On aluminum and steel, finish with a wire brush to remove oxidation and roughen the surface slightly. On vinyl, skip the wire brush and use a plastic scraper and cloth, because metal bristles gouge plastic.
Then wipe the joint with rubbing alcohol or the cleaner your sealant label recommends. Remove old silicone completely, since new sealant will not stick to it. Let everything dry fully. Wear gloves and eye protection throughout.
A joint that is clean, bare, and dry is worth more than any premium sealant.
Step 3. Choose a sealant and seal the joint
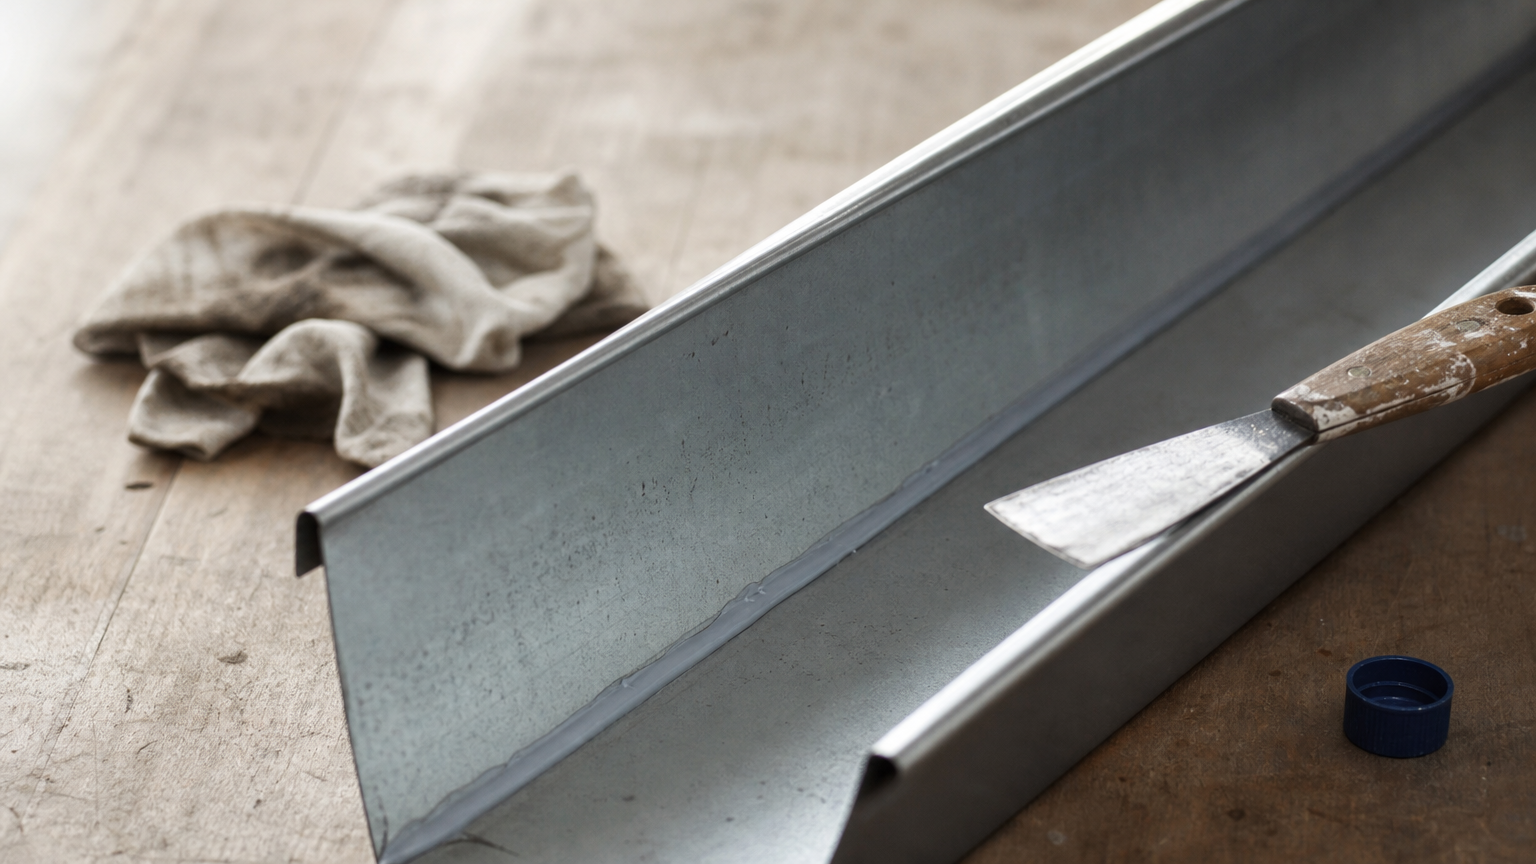
Use an exterior sealant rated for gutters: a gutter and flashing sealant or polyurethane for metal, and exterior silicone or a sealant labeled for vinyl for plastic. Skip interior or painter’s caulk, which cannot handle constant water and sunlight. Picking the right product matters more than the brand.
Compare the sealant options
| Sealant type | Best for | Watch out for |
|---|---|---|
| Gutter and flashing sealant (butyl or polyurethane based) | Aluminum and steel seams, corners, end caps | Messy to work with; follow the label for cure time |
| 100% exterior silicone | Metal and vinyl joints, gasket areas | Cannot be painted, and new sealant will not bond over it |
| Polyurethane sealant | Metal seams that need a strong bond | Check the label for vinyl compatibility |
| Roofing cement | Small holes and patches | Too stiff for joints that flex |
Apply the sealant
Cut the nozzle tip small, because a thin bead pushed into the seam beats a thick bead sitting on top of it. Then follow these steps:
- Run the bead along the inside seam, covering the joint line and the heads of any rivets or screws.
- Press the sealant into the seam with a gloved finger or a putty knife, and let it overlap about half an inch past each side of the joint.
- For gaps wider than about an eighth of an inch, cut a patch of the same material, set it in a bed of sealant, and seal over its edges.
- Check the label for the minimum application temperature, and skip the job if rain is in the forecast.
On vinyl, treat the connector first. Reseat it, replace a dried gasket if you can, and seal only the outside seam without gluing the joint solid. Vinyl needs room to move, and a rigid bond will crack at the next cold snap.
Match the sealant to the material, and let plastic keep its freedom to expand.
Step 4. Cure, test, and know when to replace
Give the sealant the full cure time on its label before water touches it, then repeat the hose test. Most gutter sealants need at least a day, and longer in cool or damp weather. If the joint stays dry under the hose and during the first heavy rain, the repair worked.
Cure and test the repair
Wait for the cure window, then run the hose upstream of the joint for several minutes. Check the underside with a dry paper towel, since a light dampness is easy to miss by eye. Look again after the first real storm. A small weep at the edge of the bead can usually be touched up once the area dries.
Know when repair stops making sense
Some gutters are past saving, and more sealant will not change that. Consider replacing the gutters if you see any of these:
- The sealant will not bond because the metal surface has turned rough or pitted.
- Pinholes or rust follow the seam, since sealing them only buys a short reprieve.
- The same joint has failed twice after a clean repair.
- The gutter sags in several places even after you reset the hangers.
- Vinyl is cracked or brittle, especially around connectors.
Two failed repairs at one joint mean the gutter is the problem, not the sealant.
Keep your gutter joints dry
Leaking gutters at joints come down to a simple order of work: trace the leak, fix the standing water behind it, clean the joint to bare material, seal it with the right product for your gutter, and test it. Skip any of those and the drip returns. Do them in order and a corner or seam can stay dry for years.
If the repair is beyond your comfort on a ladder, or the gutters are too worn to hold a seal, you do not have to guess at the cost. Get a free estimate for your gutter repair to see a price range first and connect with local contractors when you are ready.
What should this cost you?
Answer four questions and get a fair price range for your home.