
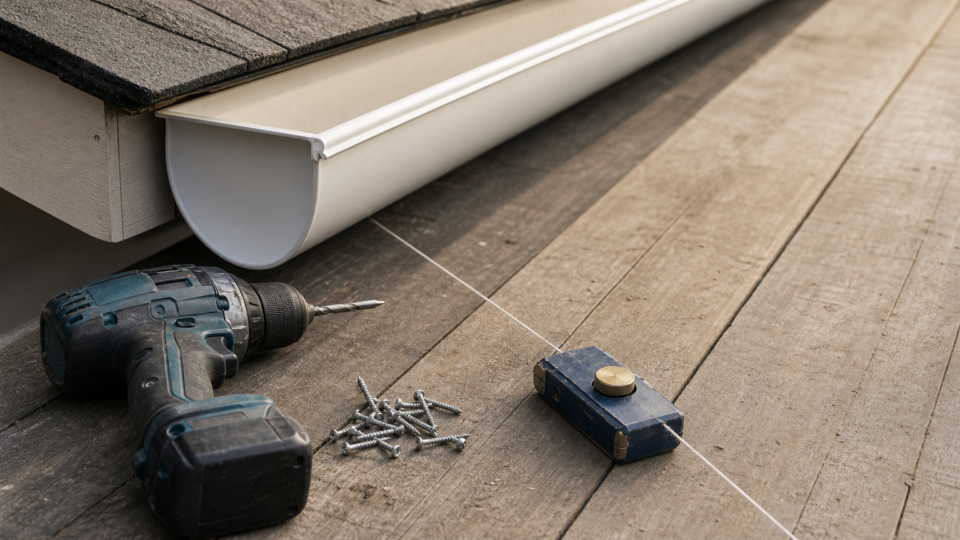
Short answer: That dip in your gutter line isn’t just ugly. It’s a sign the hangers holding the trough to your fascia board have given up, usually because old spikes worked loose or the gutter filled with wet leaves one too many times, and in bad cases you end up with a trough that has pulled loose from the house entirely. Once you know how to fix sagging rain gutters, most of these repairs take an afternoon and cost far less than calling a contractor for a job you can handle yourself. Ready for quotes? Compare local pros →
In this guide
The fix almost always comes down to replacing worn-out fasteners with something stronger. Old spike-and-ferrule systems tend to pull straight back out of the wood over time, which is why hidden hangers or brackets hold better and last longer. You’ll pitch the gutter back to its correct slope, usually a quarter inch of drop for every ten feet, then anchor it into solid fascia so it stays put through the next storm season.
This guide walks through the whole process: spotting what’s actually causing the sag, gathering the right tools, and installing new hangers step by step. We’ll also cover when a sagging gutter repair is a weekend project and when rotted fascia or a badly warped run means it’s time to call in a pro instead.
Why rain gutters sag and what you’ll need
Most sagging starts small. A single spike backs out a quarter inch, the section next to it takes on more weight, and within a season you’ve got a visible dip that collects standing water. Gutters sagging almost always trace back to one of three culprits: fasteners that have worked loose from repeated freeze-thaw cycles, fascia board that’s soft or rotted underneath the hanger, or a gutter that’s simply carrying more weight than it was built for because leaves and grit never got cleared out, which is worth weighing against what a pro charges for a clear-out versus doing it yourself.
What’s actually pulling your gutter down
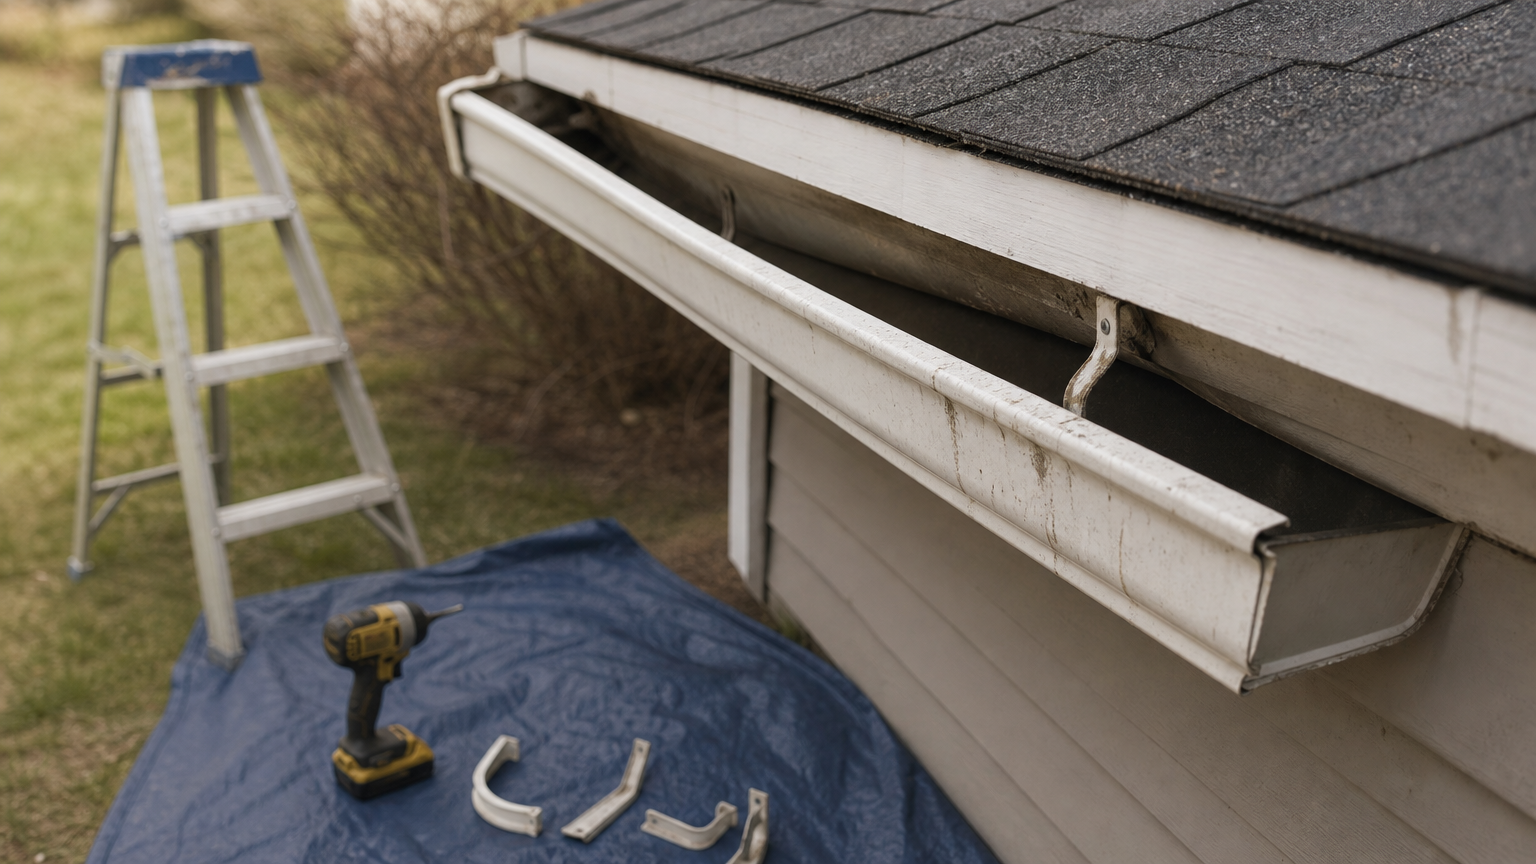
Old aluminum or steel spikes are the biggest offender. They’re driven straight into the fascia with nothing to grip but friction, so wood expands and contracts around them until they slide back out. Add a few inches of wet debris sitting in the trough, and even sound spikes can’t hold the extra weight. Ice damming makes this worse in colder climates, since frozen water expands and levers the hanger away from the board.
A sagging gutter is rarely broken, it’s just under-supported for the load it’s carrying.
Tools and materials to gather before you start
Gather everything ahead of time so you’re not climbing up and down the ladder mid-repair. Here’s what a typical sagging gutters repair requires:
| Item | Why you need it |
|---|---|
| Sturdy extension ladder | Safe access to the fascia line |
| Hidden hangers (screw-in style) | Replace failing spikes with a stronger anchor |
| 3-inch exterior screws | Bite into solid framing behind thin fascia |
| Cordless drill/driver | Drives screws without splitting old wood |
| String line and line level | Confirms correct slope before you tighten hangers |
| Butyl or silicone gutter sealant | Seals seams and old spike holes |
| Work gloves and safety glasses | Basic protection while clearing debris |
Budgeting for these tools costs less than one contractor visit, and most homeowners already own the ladder and drill. If you’re missing several items and don’t do this kind of repair often, renting or borrowing beats buying tools you’ll use once.
What should this cost you?
Answer four questions and get a fair price range for your home.
Step 1. Diagnose why the gutter is sagging
Before you touch a single screw, walk the full length of the gutter and figure out exactly where the trouble starts. Diagnosing a sagging gutter correctly saves you from replacing hangers in the wrong spot or missing rotted fascia that will just fail again in a year. Look for the low point first, then work outward until the gutter sits level against the fascia again.
What to check during your inspection
Run through this checklist section by section:
- Loose or missing spikes: wiggle each one by hand; if it moves, it’s not holding
- Soft or spongy fascia: press a screwdriver into the wood behind the hanger; it should resist, not sink in
- Standing water or debris buildup: heavy leaf mats add weight the original hangers were never sized for
- Separated seams: gaps at the joints often show up right where the sag is worst
- Pulled-away end caps: a sign the whole run has shifted, not just one hanger
Find the exact hanger that failed first, because everything downstream of it is compensating for that one weak point.
Once you’ve marked every soft spot with painter’s tape, you’ll know whether you’re dealing with a simple fix for sagging gutters (bad spikes) or a bigger problem that means replacing the rotted boards behind the gutter before any new hanger goes in.
Step 2. Replace loose spikes with gutter screws
Pull every loose spike you found during inspection and don’t reuse the old holes. Replacing spikes with screws is the single highest-value fix you can make, since the old friction-fit design was never going to hold long term no matter how hard you drive it back in. Swap each spike for a 3-inch exterior screw driven at a slightly different angle than the original hole, so the threads bite into fresh wood instead of the same worn-out channel.
How to swap each fastener
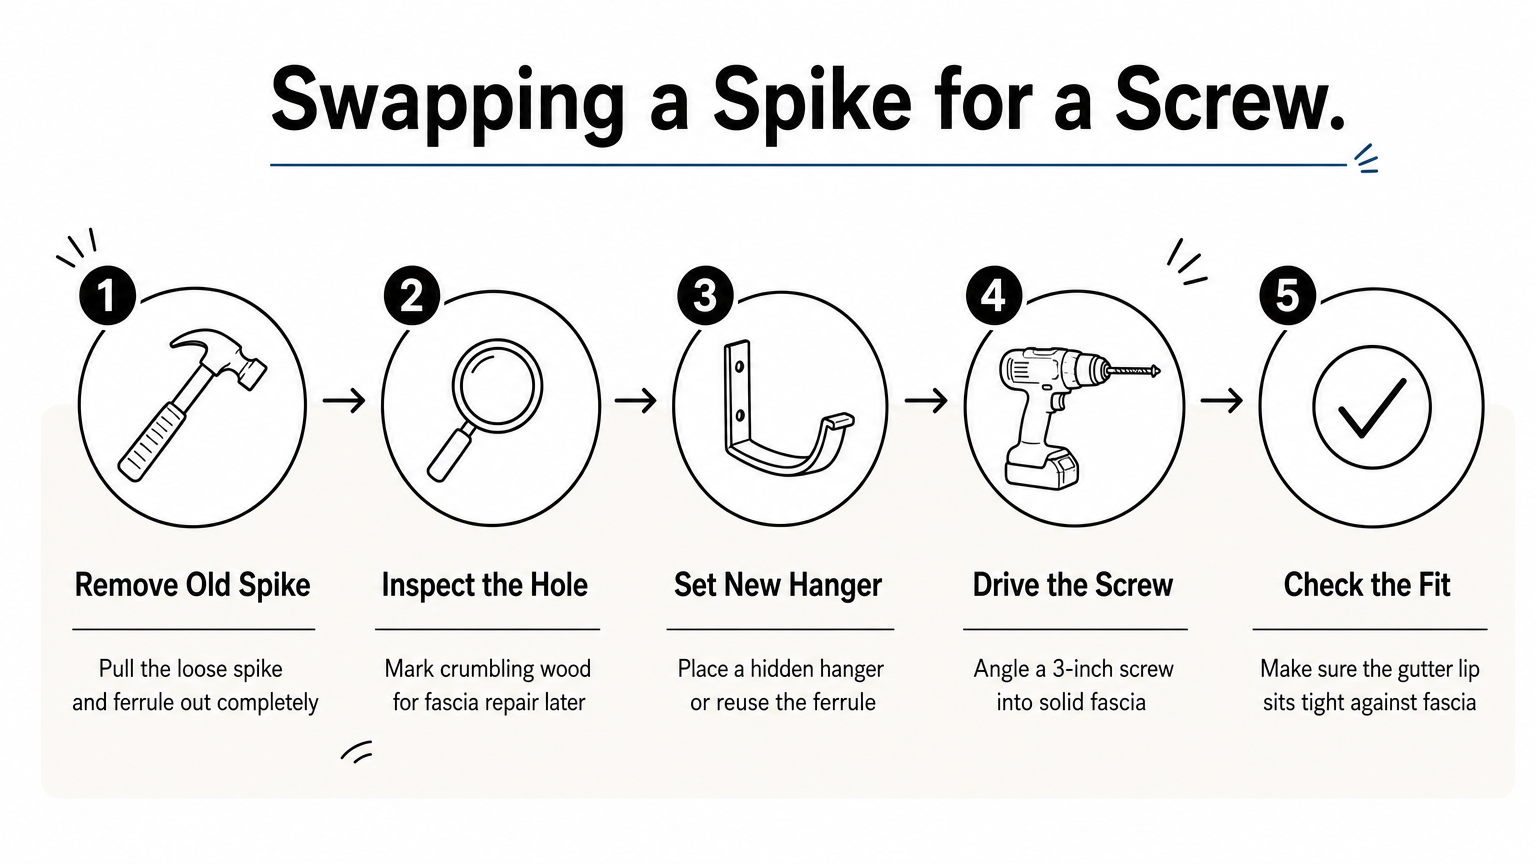
Work one hanger at a time so the gutter stays supported:
- Pull the loose spike and ferrule out completely
- Check the hole for rot; if the wood crumbles, mark it for the fascia repair in Step 4
- Position a new hidden hanger or reuse the ferrule with a screw through it
- Drive a 3-inch screw at a slight upward angle into solid fascia and rafter tail behind it
- Confirm the gutter lip sits tight against the fascia before moving to the next spike
Screws grip through threads, spikes only grip through friction, which is why one fails and the other holds.
Spacing matters here too. Original spike patterns often ran every 24 to 32 inches, which isn’t tight enough for today’s heavier debris loads. Tighten that spacing to 16 to 24 inches wherever you’re replacing fasteners, especially on runs that catch a lot of leaf litter, where a well-reviewed guard can keep the load off your new hangers.
Step 3. Add hangers or brackets for extra support
Even after you’ve swapped out every failing spike, long runs and heavy debris zones benefit from extra hangers between the ones you already replaced. Adding gutter brackets spreads the load across more points, so no single hanger has to carry the full weight of a gutter packed with wet leaves after a fall storm. This step turns a patched repair into one built to handle whatever the next season throws at it.
Where to add extra support
Focus new hangers where the load is heaviest:
- Under valleys where two roof planes dump water into one section
- Near downspout outlets, where debris tends to pile up
- Anywhere the original spacing left more than 24 inches between supports
- On any run that sagged before, even after you fixed the spikes
Extra hangers cost a few dollars each, and they’re far cheaper than a full gutter replacement.
Installing the new bracket
Hidden hangers with a screw-on saddle work best for repairing sagging gutters because they cradle the gutter from underneath instead of relying on a single point of contact. Hook the bracket under the front lip, swing it up against the back wall of the gutter, then drive the screw into solid fascia through the pre-drilled hole. Snug it down until the gutter sits flush, but don’t overtighten, since aluminum can bow if you crank too hard.
Step 4. Restore proper slope and seal weak seams
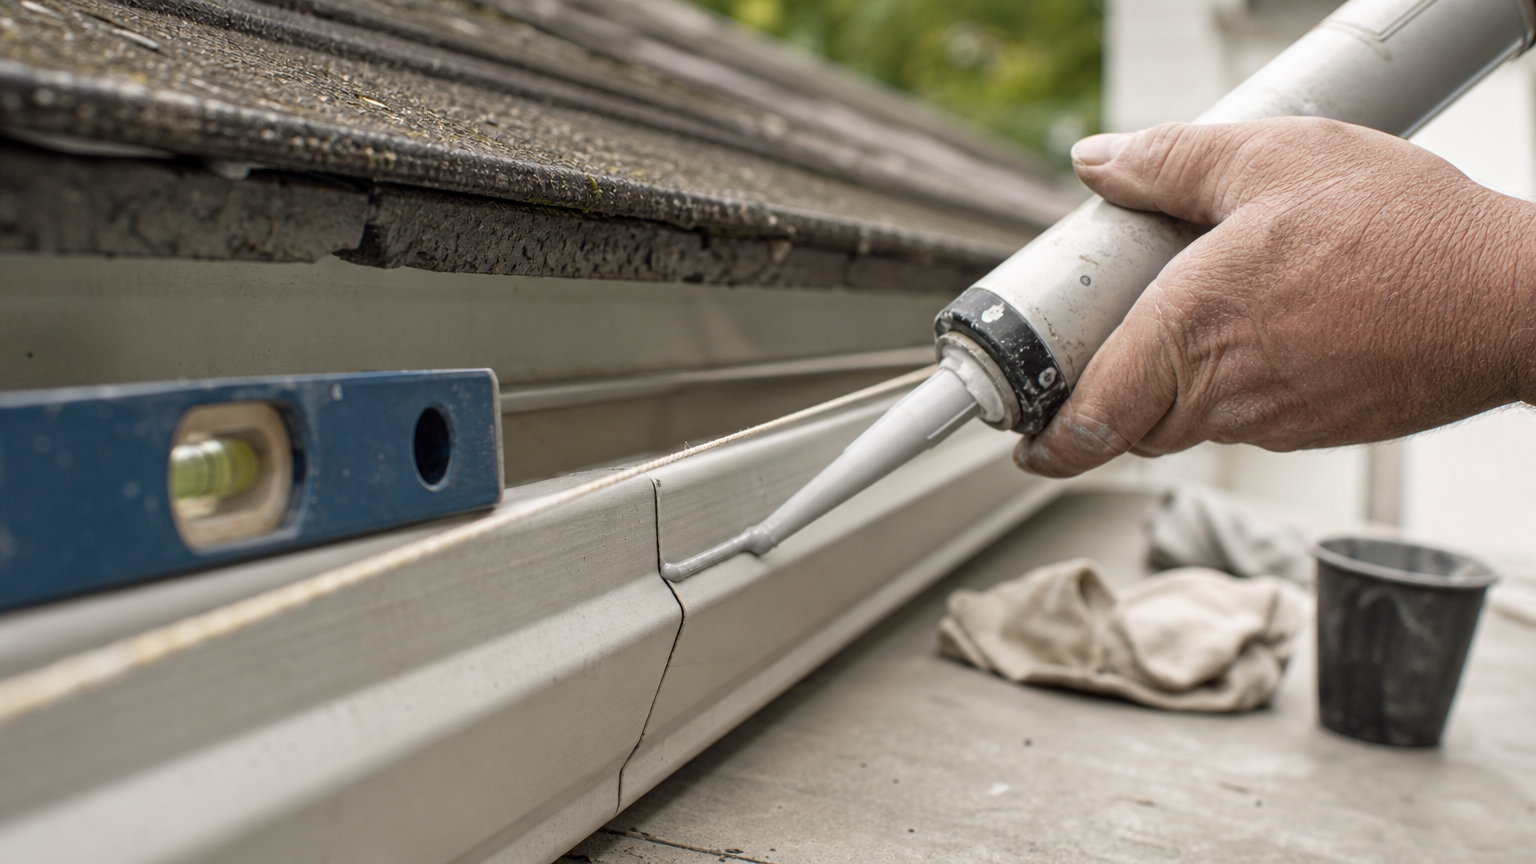
With every hanger back on solid fascia, check that the whole run still pitches toward the downspout the way it should. Restoring gutter slope means the trough drops about a quarter inch for every ten feet of run, just enough for water to move without sitting and adding weight back onto the hangers you just fixed. Stretch a string line from one end cap to the other and set a line level on it; any hanger that pulls the gutter above or below that line needs a small adjustment before you move on.
Checking and adjusting the pitch
Loosen the screw on any hanger that’s out of line, nudge the gutter up or down until it matches the string, then retighten. Work from the downspout end back toward the high end so you’re always correcting against a fixed point.
A gutter with the right slope drains itself, one without it just refills and stresses the same hangers all over again.
Sealing seams and old holes
Run a bead of butyl or silicone sealant along every joint and over any hole left by a removed spike, and if the seams keep leaking after sealing, treat that as its own repair. Left open, those spots leak onto the fascia and start the rot cycle over. If you’re unsure whether your sagging gutter fix is holding up cost-wise compared to a full replacement, run the numbers through Guardian Gutter Guide’s cost estimator tool before deciding how far to take the repair.
When it’s time to call a gutter pro
Some repairs go beyond what a screw and a bracket can fix. If you found rotted fascia crumbling behind more than a couple of hangers, or the whole run has warped instead of just dipped in one spot, patching it yourself just delays a bigger tear-out later. Sagging that returns within a season after you’ve already replaced spikes and added support usually means the fascia or the gutter itself needs replacing, not another round of screws, so it pays to know what a new gutter run costs in 2026.
Think about the math too. A ladder, hangers, and sealant run you maybe fifty dollars, but if you’re buying tools you’ll rarely use again or climbing a two-story fascia line alone, a professional visit often makes more sense. When the diagnosis points past a simple sagging gutter repair, have a local pro quote the sagging gutter repair for free and let them handle the parts that need more than a drill and a Saturday afternoon.
What should this cost you?
Answer four questions and get a fair price range for your home.