
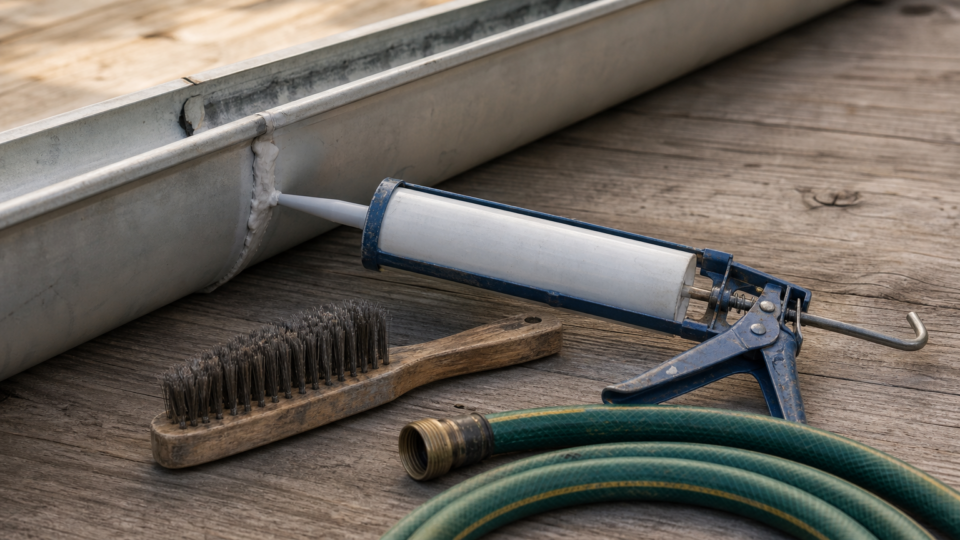
Short answer: That drip you keep finding under the same spot on your gutter run isn’t random. It’s almost always a seam problem, and it’s one of the most common repair calls a gutter installer gets. Gutters leaking at seams happen where two sections join, at end caps, or where downspout outlets connect, and once the original sealant fails, water finds that gap every time it rains, the same pattern behind leaks at seams, joints, and downspouts across any system. Even brand new systems aren’t immune, so if you’re dealing with new gutters leaking at seams, you’re not alone and it’s usually a fixable installation issue, not a defective product. Ready for quotes? Compare local pros →
In this guide
The fix isn’t complicated, but doing it once and doing it right requires knowing which sealant actually bonds to your gutter material, how to prep the joint, and how much overlap and cure time you need. Whether you’ve got vinyl gutters leaking at joints or aluminum seams pulling apart, the repair process follows the same basic steps with a few material-specific tweaks.
Below, we’ll walk through how to diagnose exactly where water’s getting in, the tools and gutter seam leak repair products worth buying, and the technique that will actually stop gutters from leaking instead of buying you a few dry months before the next storm proves otherwise.
Why gutter seams leak in the first place
Most gutter sections are joined with a lap joint, where one piece overlaps the next by an inch or two, then gets sealed with caulk, butyl tape, or a urethane sealant and sometimes riveted or screwed for extra hold. That seal is the only thing standing between your fascia and a steady drip, and left long enough, a constant drip is how boards behind the gutter start to rot. Sun exposure, temperature swings, and the constant flex of a gutter full of water and debris all work against whatever sealant a contractor used, even if the installation was done correctly on day one.
Sealant breakdown and UV exposure
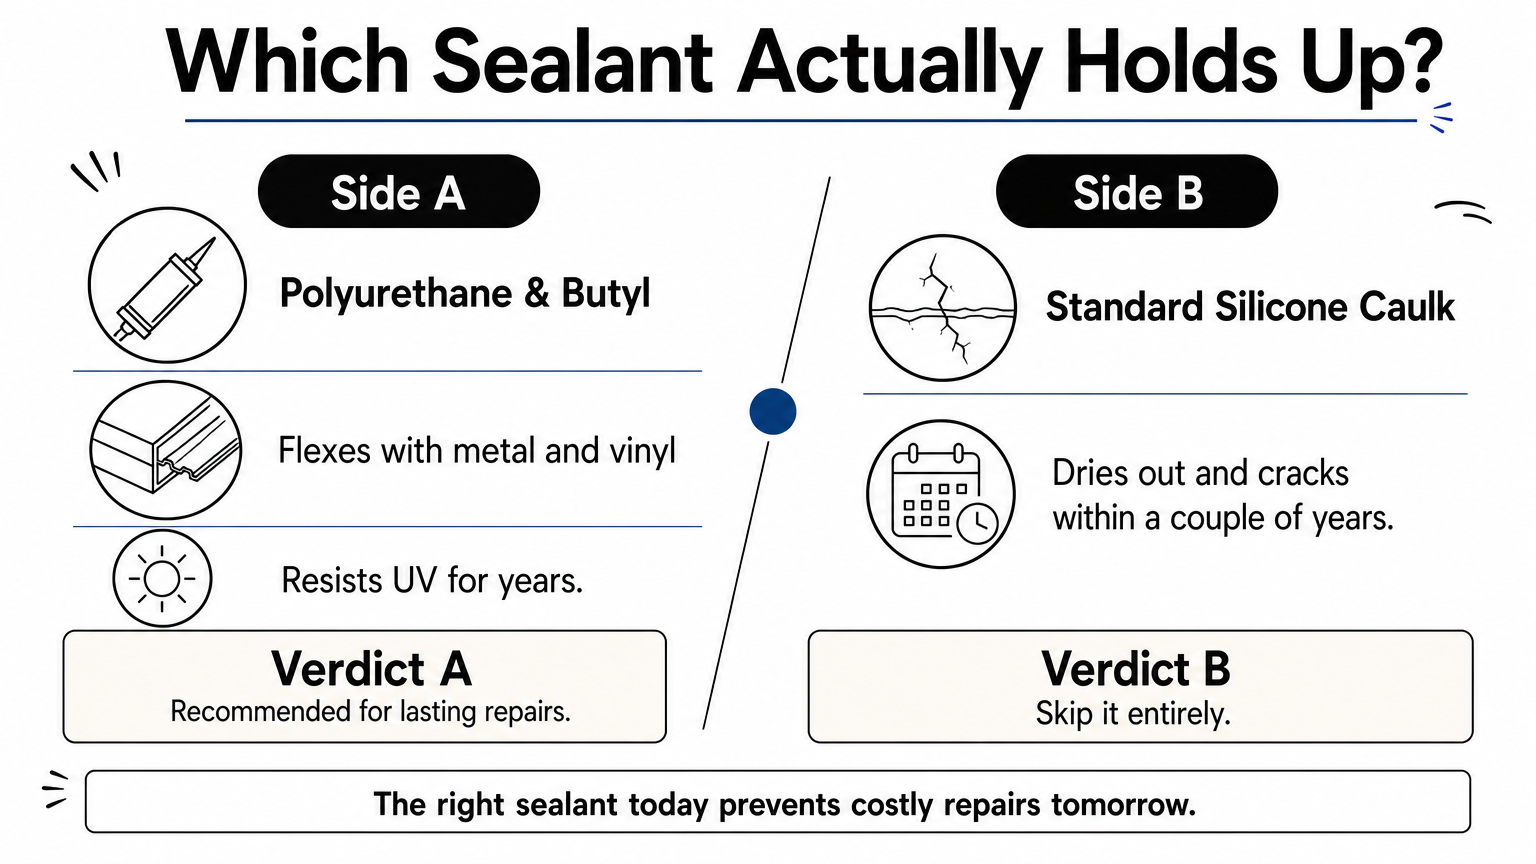
Standard silicone caulk, the stuff a lot of installers still reach for because it’s cheap and easy to apply, simply isn’t built for constant sun and water exposure. It dries out, shrinks, and cracks within a couple of years, especially on south-facing runs that bake all summer. Once that seal loses its flexibility, it can no longer expand and contract with the metal or vinyl underneath, and hairline gaps open up right along the seam. This is the single biggest reason gutters leaking at seams shows up as a search question so often. It’s not usually a design flaw, it’s a maintenance gap nobody flagged until water started staining the siding.
Most seam leaks aren’t a sign of bad gutters, they’re a sign of old sealant that finally gave out.
Thermal movement and material mismatch
Aluminum and vinyl both expand and contract with temperature, and a gutter run can shift a noticeable amount between a cold morning and a hot afternoon. That movement stresses every seam, and it’s worse on longer runs without enough expansion joints. Vinyl gutters leaking at joints is a particularly common complaint because vinyl expands more than aluminum does, so a sealant that works fine on a metal system can fail faster on a plastic one if it isn’t rated for that extra flex. If you’re chasing a vinyl leak, don’t assume the same product that worked on your neighbor’s aluminum gutters will hold up the same way on yours.
Poor installation or the wrong sealant to begin with
A surprising number of seam leaks trace back to the original install, not age. Some common culprits:
- Wrong sealant for the material (using a generic caulk instead of a gutter-specific sealant rated for the metal or vinyl in question)
- Insufficient overlap at the joint, so there’s not enough surface area for the seal to grip
- Skipped fasteners where rivets or screws should reinforce the seam alongside the sealant
- Sealant applied to a dirty or wet surface, which prevents proper adhesion from day one
This is exactly why new gutters leaking at seams happens more often than homeowners expect. A rushed install crew moving fast through a neighborhood can skip a step, and the seam looks fine until the first heavy rain finds the gap.
Debris, standing water, and sagging
Clogged gutters hold water against the seam far longer than a properly draining system does, and that constant saturation accelerates sealant breakdown. A sagging section, often caused by loose hangers or a slight pitch problem, also puts extra strain on the joints nearest the low point. If you’ve already dealt with a gutter sagging or pulling loose from the fascia, check those seams first, because they’re carrying more stress than the rest of the system.
What should this cost you?
Answer four questions and get a fair price range for your home.
Step 1. Find the exact source of the leak
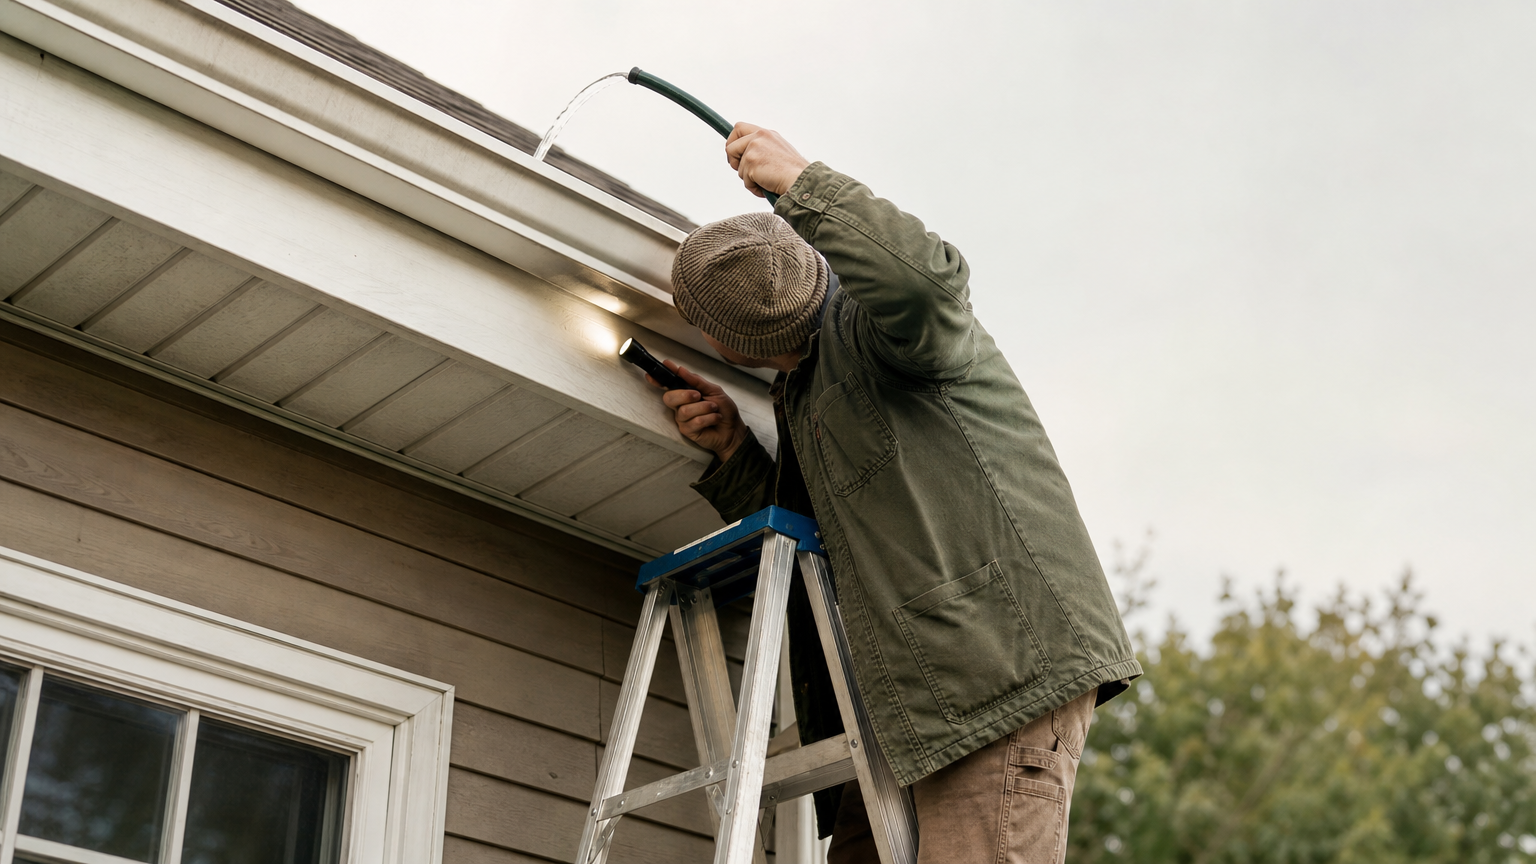
Before you touch a tube of sealant, you need to know exactly where water is entering, because gutters leaking at seams often show a drip several feet downstream from the actual gap. Water travels along the underside of the gutter or the fascia board before it finally lets go, so a stain on the trim doesn’t always sit right below the failed joint. Grab a garden hose, a flashlight, and a ladder, and plan on doing this test from the inside of the gutter, not just watching drips from the ground.
Run a controlled water test
Start at the high end of the run and work toward the downspout, since that mimics how water actually moves during a storm.
- Clear out any leaves or grit so you can see the seam clearly and water flows the way it normally would.
- Trickle water from a hose into the gutter at the highest point, rather than blasting it, to avoid masking a small leak with overflow.
- Watch each seam and end cap from underneath as the water passes over it, and mark any spot that beads or drips with a piece of tape or a grease pencil.
- Let the section fill partway and hold for a minute at joints you suspect, since some leaks only show up under standing water pressure, not just a quick pass-through.
If you skip the water test and seal by guesswork, you’ll patch the wrong spot and the drip comes right back.
Check fasteners and pitch while you’re up there
Once you’ve marked the leak, look at the hardware around it. Loose rivets, missing screws, or a hanger that’s pulled away from the fascia can all open a seam wider than sealant alone was ever meant to bridge, and no amount of caulk fixes a joint that’s still moving. Pitch matters too. A section that’s lost its slight downward angle toward the downspout holds water against the seam instead of draining it, which is often why a gutter seam leak repair that looked solid for a season suddenly starts dripping again once debris builds up and slows the flow further.
Step 2. Clean and prep the seam for repair
Skipping prep is the number one reason a repair fails within a season. New sealant needs a bare, dry surface to grip, and any leftover caulk, grime, or oxidation between the sealant and the metal creates a bridge that peels away the first time the seam flexes. This step feels tedious compared to squeezing a tube of caulk, but it’s the difference between a gutter seam leak repair that lasts five years and one that leaks again by spring.
A repair only holds as long as the surface underneath it is clean, dry, and bare.
Strip out the old sealant completely
Grab a plastic putty knife or a five-in-one tool and scrape away every trace of the failed sealant, working the blade flat against the metal or vinyl so you don’t gouge the surface. Old butyl tape can leave a sticky residue behind even after you’ve pulled up the bulk of it, so follow up with a wire brush on aluminum seams (never on vinyl, which scratches easily) to knock off any leftover film and light corrosion. For stubborn residue, a rag dampened with mineral spirits will cut through the gummy leftovers without attacking the paint finish. Take your time here, since any bump or ridge of old material left behind will telegraph through the new bead and give water a path to sneak under it.
Degrease, rinse, and dry before applying anything
Once the seam is stripped, wipe it down with isopropyl alcohol or a dedicated gutter cleaner to pull off oils, dust, and any mineral film left by hard water. A quick checklist keeps you from rushing this part:
- Scrape all old sealant and tape off both sides of the lap joint
- Brush aluminum seams to remove light rust or oxidation (skip on vinyl)
- Wipe with alcohol or gutter-safe degreaser, then let it flash off
- Rinse with the hose if solvent residue remains, then dry completely
- Confirm dry by running a finger along the seam before sealing
Drying matters more than most homeowners expect. Sealant applied over even a thin layer of moisture won’t bond properly, so give the seam a full 20 to 30 minutes in direct sun, or dry it manually with a rag and a heat gun on low if you’re working on a cloudy day. Vinyl gutters leaking at joints especially need a bone-dry surface, since vinyl sealants tend to be less forgiving of trapped moisture than the urethane products made for metal seams.
Step 3. Choose and apply the right sealant
The sealant you grab off the shelf matters more than the brand name on the tube. Gutter seam leak repair fails most often because someone used a general-purpose caulk instead of a product formulated to bond metal or vinyl and flex with it. You want a sealant rated specifically for gutters, and you want to match it to your material, since a formula that grips aluminum beautifully can peel right off vinyl within a season.
Match the sealant to your gutter material
Urethane and polyurethane sealants are the standard for aluminum, steel, and copper because they cure hard but stay flexible enough to handle thermal movement without cracking. For vinyl gutters leaking at joints, look for a sealant labeled compatible with PVC or vinyl specifically, since standard urethane can sometimes fail to bond or even react with the plastic. Butyl rubber sealant is another solid option across materials, especially in seams that see a lot of movement, though it stays slightly tacky longer than urethane.
| Sealant type | Best for | Cure time | Notes |
|---|---|---|---|
| Polyurethane | Aluminum, steel, copper | 24-48 hrs | Flexible, UV-resistant, most durable option |
| Butyl rubber | All materials, high-movement seams | 24 hrs | Stays slightly tacky, great gap-filling |
| Vinyl-safe sealant | Vinyl/PVC gutters | 24 hrs | Won’t attack plastic, check label carefully |
| Silicone caulk | Not recommended | N/A | Cheap but breaks down fast in sun |
Skip silicone entirely. It’s the reason you’re reading this guide in the first place.
Apply the bead correctly
Cut the sealant tip at a shallow angle for a thin, controlled bead, then run it along the inside seam where the two sections overlap, not just along the visible outer edge. Overlap the bead onto both metal surfaces by at least half an inch on each side so it bridges the joint fully instead of just filling a surface crack. Press the bead flat with a gloved finger or a small tool to force it into the seam and remove air pockets, since trapped air creates a weak spot that fails first.
Rivet or screw the joint if fasteners were missing to begin with, then apply sealant over the fastener heads too, since exposed metal there is another entry point. Give the repair full cure time, listed on the tube, before the next water test, since rushing this step undoes everything you just did right.
Step 4. Test the repair and prevent future leaks
Once the sealant hits its full cure time, run the same hose test you used in Step 1, starting at the high end of the run and watching the repaired seam from underneath. Confirm no drip appears even after letting water pool briefly at the joint, since a repair that holds under a light trickle can still fail under real storm volume. If you spot even a hint of moisture, don’t chase it by layering more sealant over a wet spot. Dry the area completely and run a thin second bead once it’s bone dry.
Watch it through one real storm
Testing with a hose tells you a lot, but nothing beats watching the seam during an actual rainstorm from a safe vantage point. Check the repair after the first heavy rain, then again after a stretch of hot, sunny days, since that combination of saturation and thermal expansion is exactly what exposes a weak bond. A repair that stays dry through both is one you can trust for years, not just weeks.
A repair that survives one real storm and a week of summer heat is a repair you can stop worrying about.
Build a routine so the leak doesn’t come back
Preventing the next seam leak comes down to keeping water moving and keeping debris out, since standing water and clogged runs are what wear down sealant fastest. A simple twice-a-year routine handles most of it:
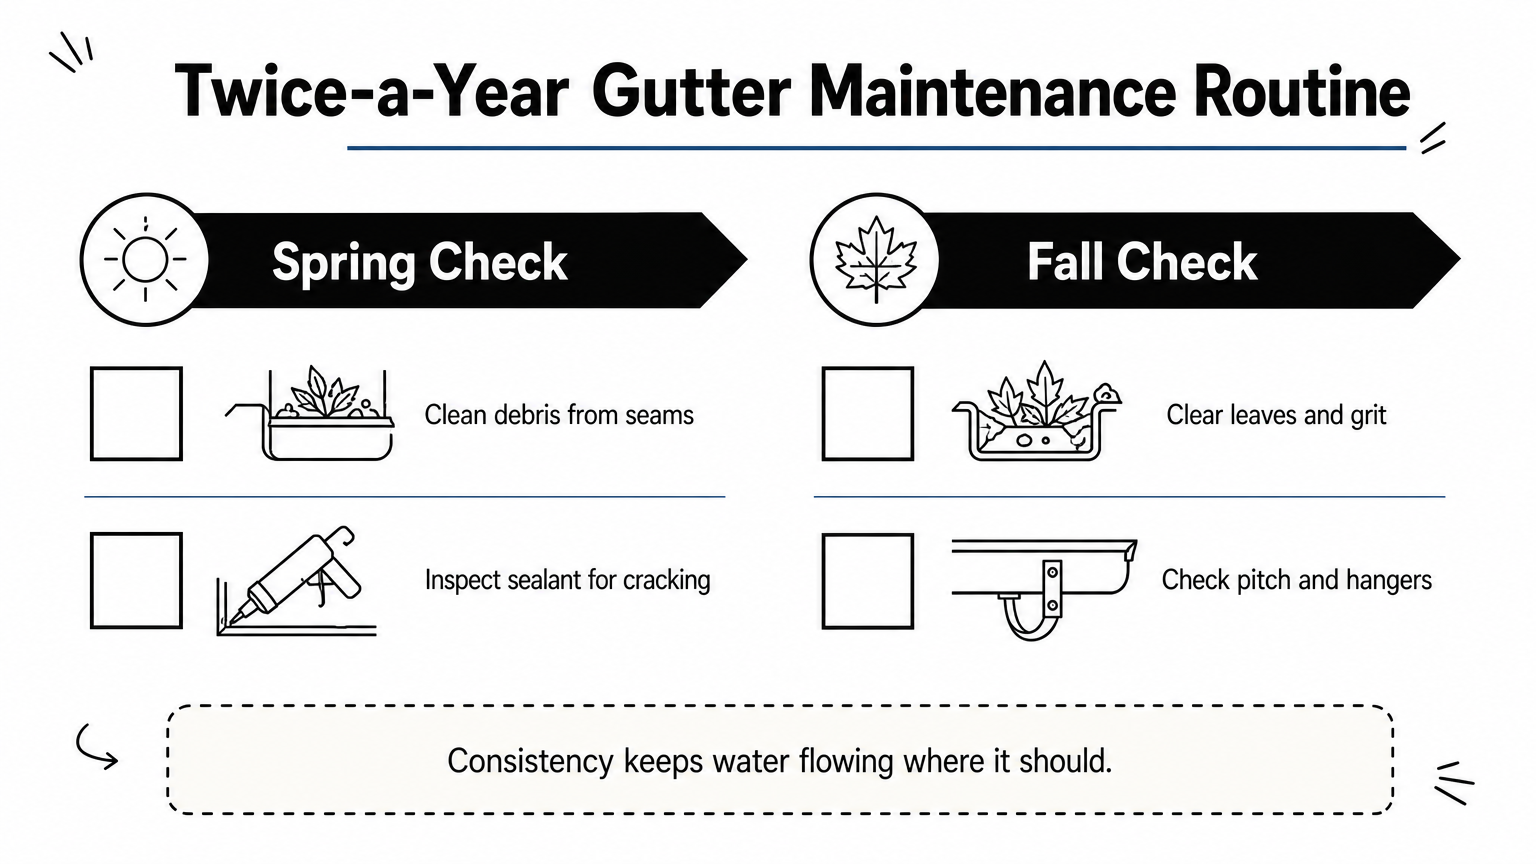
- Clean gutters in spring and fall, or more often under heavy tree cover, so debris doesn’t sit against the seams (here’s what a cleaning visit typically costs if you’d rather hand it off)
- Check pitch and hangers during each cleaning to catch sag before it stresses a joint
- Inspect seams for cracking sealant every season change, since UV damage builds gradually and rarely shows up all at once
- Consider gutter guards if climbing a ladder twice a year isn’t realistic for you, since keeping debris out reduces the standing water that breaks down seals fastest (see what guards run by type and home size)
If you’re done patching the same gutters leaking at seams every year, our gutter guard reviews for 2026 break down which styles actually cut down on maintenance without trapping water against the joints themselves.
Keeping your gutters watertight for good
A seam leak isn’t a mystery once you’ve traced the water, stripped the old sealant, and laid down a fresh bead matched to your gutter material. Find the source, prep it bare, seal it right, and test it through a real storm before you call the job done. That’s the whole process, and it holds up whether you’re working on aluminum, vinyl, or a run that’s only a year old.
Most homeowners can handle this repair with an afternoon and the right tube of sealant. But if you’ve patched the same joint twice already, or you’re staring at a run with sagging sections and multiple failed seams, it’s worth getting a second opinion before you sink more time into a system that’s telling you it needs more than caulk. If that sounds like your gutters, get a free repair estimate from a local pro and let them tell you honestly whether you’re patching or replacing.
What should this cost you?
Answer four questions and get a fair price range for your home.