
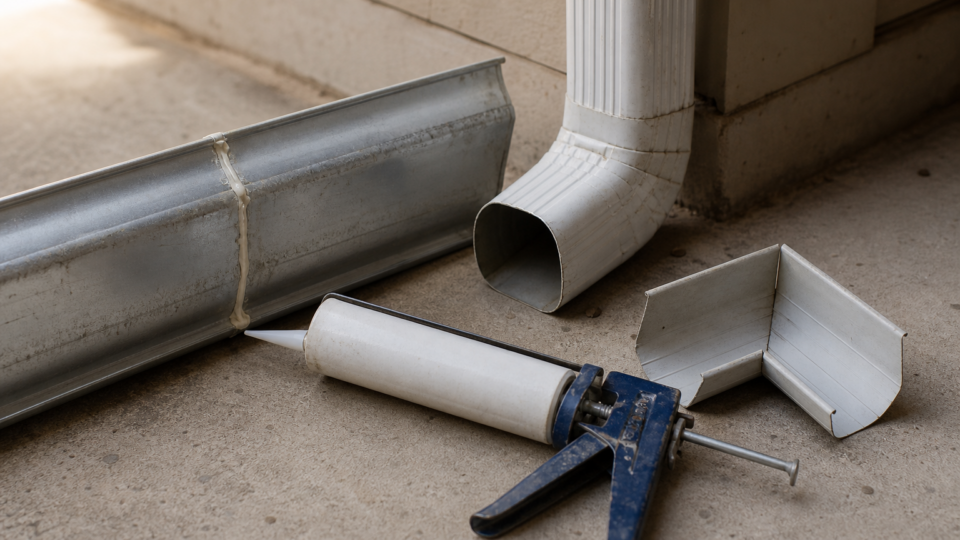
Short answer: Water dripping down your siding after every rainstorm usually means one thing: a leak somewhere along the run. Before you assume the whole system needs replacing, know that fixing leaking gutters is one of the most doable weekend repairs a homeowner can tackle, and most leaks trace back to just a few spots: seams, end caps, corners, and downspout connections. Ready for quotes? Compare local pros →
In this guide
This guide walks you through how to fix leaking gutters at every common failure point, starting with finding the actual source (which isn’t always where the water shows up outside). You’ll learn which sealants hold up under UV and freeze-thaw cycles, when a patch or repair kit beats a full seam replacement, and how to seal leaking gutters so the fix actually lasts more than one season.
We wrote this from the perspective of someone who’s installed and repaired gutters for a living, not a contractor trying to upsell you. You’ll get straightforward steps for joints, corners, and downspout leaks, plus honest guidance on when a repair makes sense versus when it’s time to call in a pro.
What causes gutter leaks and what you’ll need
Gutters don’t spring leaks randomly. Leaking gutters almost always trace back to one of a handful of predictable failure modes, and knowing which one you’re dealing with saves you from wasting a tube of sealant on the wrong problem. Before you climb the ladder, it helps to understand what actually breaks down over time so you’re fixing the cause, not just the symptom, instead of just chasing drips after every storm.
Why gutters develop leaks
Most residential gutters leak for one of five reasons: dried-out seam sealant, rust or corrosion in steel systems, loose fasteners letting sections pull apart, cracked end caps, or gutters that have sagged and lost their pitch. Aluminum sections joined at seams rely entirely on sealant to stay watertight, and that sealant typically lasts 10 to 15 years depending on sun exposure and climate. Once it dries out and cracks, water finds the gap. Steel and galvanized systems face a different enemy: rust eats through the metal from the inside, usually starting where debris sits wet against the channel floor. Rain gutter leak repair gets more complicated if you’re dealing with rust holes rather than a failed seam, since you’re patching metal loss instead of just resealing a joint.
Most gutter leaks aren’t a sign of a failing system, they’re a sign of failed sealant.
Sagging is its own category of trouble. When hangers pull loose from the fascia, the gutter loses its slope toward the downspout, water pools instead of draining, and that standing water finds every weak point in the seams and joints. If you notice a gutter leaking at a spot where it’s visibly dipping, fix the pitch before you touch the sealant, or you’ll be back up the ladder in a month chasing the same drip.
What you’ll need before you start
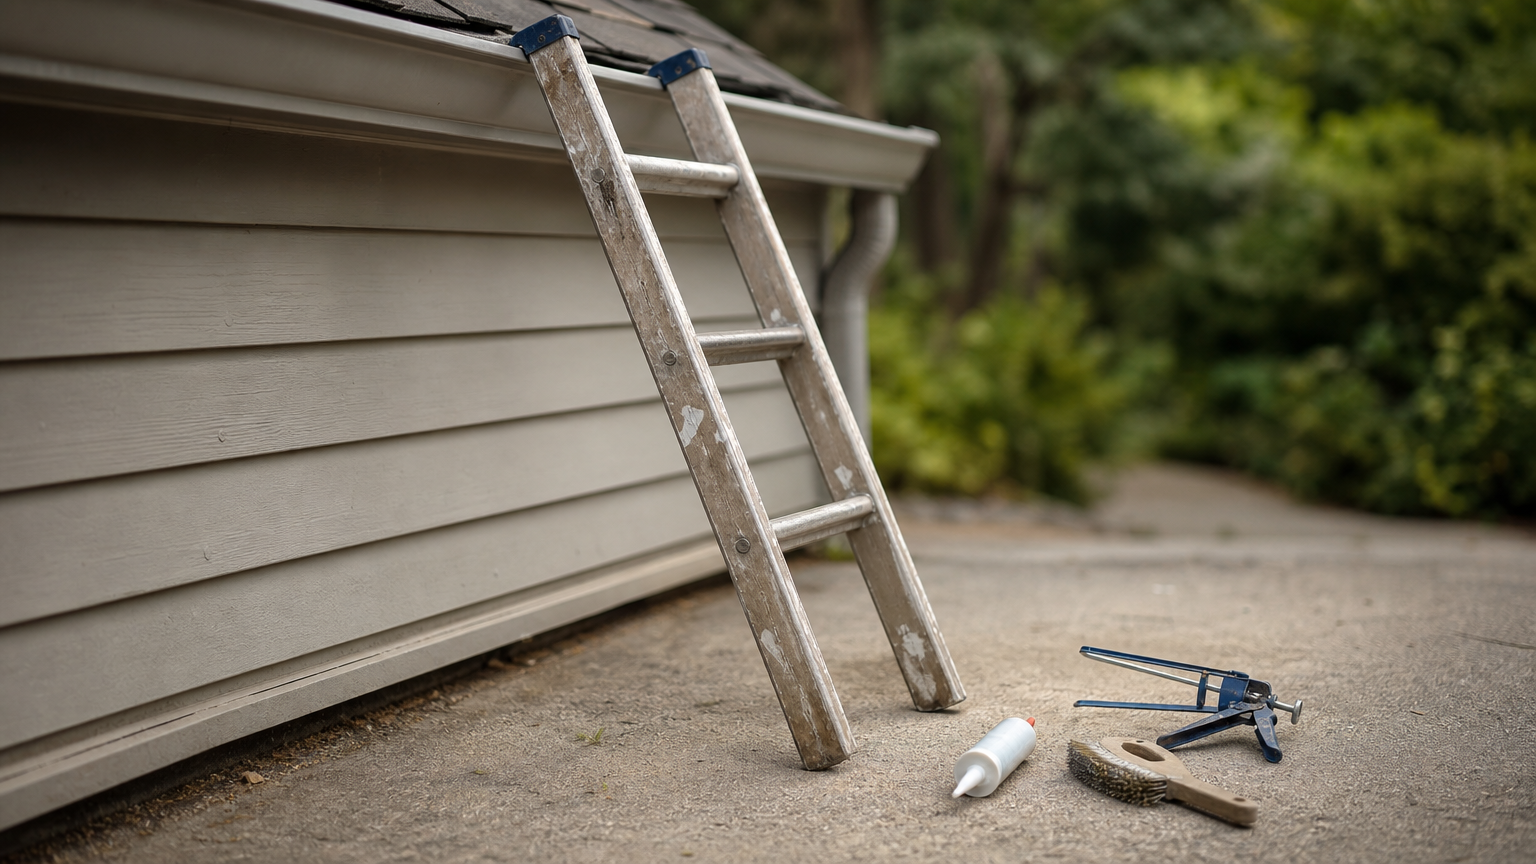
Gutter repair doesn’t require a big toolkit, but using the wrong product is the most common mistake DIYers make. General-purpose silicone caulk looks similar to gutter sealant on the shelf, but it doesn’t bond the same way to aluminum and it breaks down faster under UV exposure. Stick with a purpose-made gutter sealant or butyl-rubber product rated for exterior metal, since that’s the difference between a repair that holds for years and one you’re redoing next spring.
| Item | Purpose | Notes |
|---|---|---|
| Stabilized extension ladder | Safe access to the gutter run | Use a stabilizer bar so the ladder doesn’t rest on the gutter itself |
| Wire brush or scraper | Remove old sealant and debris | A metal-bristle brush clears cracked sealant faster than plastic |
| Denatured alcohol or gutter cleaner | Degrease the repair area | Sealant won’t bond to dirty or oily aluminum |
| Gutter-grade sealant (butyl or polyurethane) | Seal seams, end caps, and joints | Choose a product rated for ponding water and freeze-thaw cycles |
| Caulk gun | Apply sealant cleanly | A drip-free gun cuts down on cleanup |
| Putty knife or plastic spreader | Smooth sealant into seams | Keeps the bead even and low-profile |
| Self-tapping screws or gutter spikes | Replace loose or missing fasteners | Screws hold significantly better long-term than spikes |
| Gutter repair patch or flashing (for rust holes) | Bridge larger gaps or corrosion damage | Aluminum flashing tape works for small holes |
| Garden hose | Test the repair | You’ll run water through the system after sealing |
| Work gloves and eye protection | Basic safety | Old sealant edges and rust can cut skin |
Gathering everything before you climb up saves you real time. Nothing wastes a Saturday faster than descending the ladder three times because you forgot the wire brush or grabbed the wrong sealant for your gutter material.
What should this cost you?
Answer four questions and get a fair price range for your home.
Step 1. Find where your gutter is leaking
Water rarely drips straight down from its actual source. Gravity pulls it along the gutter channel and fascia board before it finally lets go, so the drip you see from the ground might be three feet from the real problem. Before you touch a tube of sealant, you need to find where your gutter is leaking, and that means getting up close during a wet test rather than guessing from the driveway.
Run a hose test before you diagnose
Grab a helper and a garden hose, then run water through the gutter section by section instead of blasting the whole run at once. Start at the end farthest from the downspout and work your way toward it, pausing every few feet to watch for drips, drops, or damp streaks. Have your helper stand below with a flashlight, since small leaks often show up as a thin, steady bead of water rather than an obvious stream. This slow, sectional approach is the fastest way to isolate a gutter leak repair to a specific joint or seam instead of resealing the entire run out of guesswork.
If you can’t reproduce the leak with a hose, you can’t confirm the fix worked either.
Check the usual failure points first
Most leaks cluster around a short list of predictable spots, so inspect these before you assume you’ve got a mystery on your hands:
- Seams between sections: look for cracked, chalky, or missing sealant along horizontal joints
- End caps: check for gaps where the cap meets the gutter body, especially on older aluminum
- Corner miters: inspect inside and outside corners for separated seams or rust streaks
- Downspout outlets: look for water escaping around the connection rather than flowing into the spout
- Fastener holes: check for rust rings or small weep marks around screws and spikes
- Hairline cracks or pinholes: run a hand along the gutter floor, since rust damage sometimes feels rough before it’s visible
Mark every spot you find with a piece of chalk or painter’s tape as you go, even minor ones. It’s common to find two or three separate leaks on one run, and if you stop after finding the first, you’ll be back on the ladder within a few weeks chasing a drip you already had access to. Take a phone photo of each marked spot too, since sealant work goes faster when you’re not re-inspecting the same section twice.
Step 2. Clean and prep the damaged area
Sealant only bonds to a clean, dry surface, so skipping prep is the number one reason DIY gutter repairs fail within a season. Before you open a single tube of sealant, every marked leak point needs to be scraped, degreased, and completely dry. This step feels tedious compared to the satisfaction of laying down a fresh bead, but it’s the difference between a repair gutter leak job that lasts five years and one that peels off in the first hard rain.
Strip the old sealant and debris
Work through each marked spot with your wire brush or scraper, removing every trace of cracked or flaking sealant down to bare metal. Old butyl or silicone residue left behind creates a weak layer that new sealant won’t grip, so don’t just knock off the loose chunks and call it done. Sweep out any leaf litter, grit, or shingle debris sitting in the channel near the leak, since trapped debris holds moisture against the metal and can reintroduce the problem even after a fresh seal.
A repair only lasts as long as the surface underneath it is clean.
Degrease, rinse, and dry completely
Wipe the scraped area with denatured alcohol or a dedicated gutter cleaner to strip away oils, oxidation film, and pollen residue that a garden hose alone won’t touch. Rinse lightly if you used a cleaner with residue, then let the section air dry for at least 20 to 30 minutes, longer in humid or shaded areas. Applying sealant over damp aluminum traps moisture under the bead, which shows up months later as a bubbled patch that leaks again.
Check for rust holes or metal loss
Galvanized and steel gutters need an extra check here: run your fingers along any rough or pitted spots you flagged earlier and look for actual pinholes, not just surface rust. Sealant alone won’t bridge a hole bigger than a pencil eraser, so those spots need a patch of aluminum flashing tape or a rated repair patch pressed into fresh sealant before you move on. Prep checklist before sealing:
- Old sealant fully scraped to bare metal
- Debris cleared from the channel near the repair
- Surface degreased with alcohol or gutter cleaner
- Area completely dry, no damp spots
- Rust holes identified and flashing patch ready if needed
Once every spot on your list passes this checklist, you’re ready to seal.
Step 3. Seal leaking seams and end caps
With every spot cleaned, scraped, and dry, you’re ready to actually seal leaking gutters for good. Seams and end caps make up the bulk of gutter leaks because they’re the two places where separate pieces of aluminum meet, and a factory seal that’s held for a decade can still fail overnight once UV exposure dries it out. The fix is straightforward, but the technique matters more than the amount of sealant you squeeze out of the tube.
Apply sealant along horizontal seams
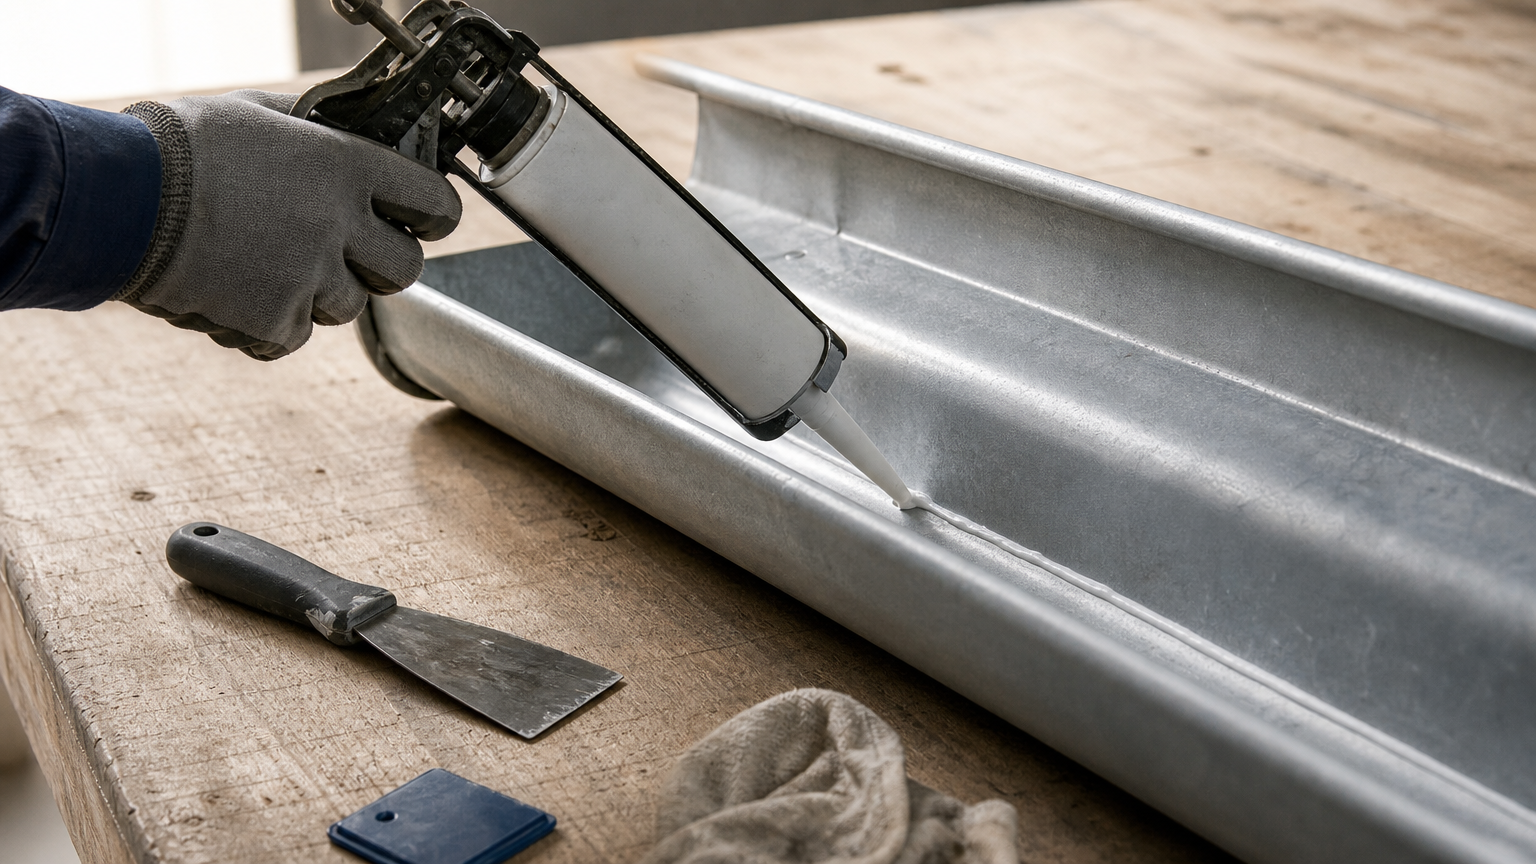
Load your caulk gun with a gutter-grade butyl or polyurethane sealant, cut the tip at a low angle, and run a continuous bead along the inside of the seam where the two gutter sections overlap. Don’t dab sealant on top of the joint from outside, that only masks a leak temporarily. Work the sealant into the seam itself with a putty knife or plastic spreader so it fills the gap rather than sitting on the surface, then feather the edges thin so water sheets over the repair instead of catching on a raised ridge.
A thick blob of sealant looks like a fix, but a thin, worked-in bead is what actually stops the water.
For seams under constant ponding water, such as low spots near a downspout, apply a second thin coat once the first skins over, usually within 30 to 60 minutes depending on humidity. Two thin coats outlast one thick one because thick sealant cracks as it cures.
Reseal or replace loose end caps
End caps fail two ways: the sealant dries out and separates from the gutter body, or the cap itself has rusted or warped enough that it no longer sits flush. If the cap is still solid, pull it slightly away from the gutter, scrape out the old sealant from the inside lip, and lay a fresh bead around the entire perimeter before pressing it back into place. Hold it firm for 60 seconds so it seats evenly.
If the cap is cracked, bent, or pitted with rust, don’t bother resealing it. Replacement caps cost a few dollars at any hardware store and take five minutes to install with sealant and a couple of rivets or screws. This is one spot on the gutter where repairing leaking gutters properly means knowing when patching isn’t worth the effort.
Step 4. Fix leaking corner joints and miters
Corner joints take more physical stress than any other point on your gutter system, which is why they’re often the second spot you’ll find water escaping after seams. Two pieces of aluminum meet at an angle here, held together with sealant and sometimes a rivet or two, and that angled seam has more surface area for water to work its way into than a straight horizontal joint. If you’re wondering how to repair leaking gutters at joints where the run changes direction, treat corners as their own category, not just another seam.
Why corner miters fail first
Miters flex more than straight sections every time the gutter expands and contracts with temperature swings, and that constant movement stresses the sealant bond faster than it does along a flat run. Ice buildup makes this worse in colder climates, since frozen water sitting in the corner pocket expands and pries the joint apart from the inside. Outside corners tend to leak from UV breakdown, while inside corners usually fail from ponding water that never fully drains.
Corners move more than any other part of the gutter, so they need more sealant, not less.
Reseal or reinforce the corner
Start by scraping out every trace of old sealant from inside the miter joint, working the wire brush into the angle itself since debris hides in that pocket more than anywhere else. Once it’s clean and dry, follow these steps:
- Apply a generous bead of gutter-grade sealant along the full inside seam of the miter, not just the visible gap
- Press the corner pieces together firmly if they’ve shifted, holding for 60 seconds
- Smooth the bead with a putty knife so it fills the angle without leaving a raised ridge
- For corners with visible gaps wider than a pencil, back the sealant with a small strip of aluminum flashing before sealing over it
- Let it cure fully, typically 24 hours, before running water through it again
Don’t skip the flashing step on wider gaps. Sealant alone can bridge a hairline crack, but it sags and pulls away from anything bigger within a season. Corners also see more foot traffic from ladder placement during cleaning, so check that any nearby hangers are still tight while you’re up there, since a loose hanger near a corner adds stress to a joint that’s already working harder than the rest of the run.
Step 5. Repair leaks at the downspout connection
The spot where your gutter drains into the downspout takes on more water volume than any other joint in the system, which makes it a common place to find a gutter leak repair waiting to happen. Water funnels from the entire run through this single outlet, so even a small gap here sheds a surprising amount of water down your fascia and siding during a hard rain. If your hose test in Step 1 showed water escaping around the outlet tube instead of dropping into the downspout, this is your fix.
Inspect the outlet and drop connection
Start by checking where the gutter outlet meets the top of the downspout. This connection usually relies on a crimped fit backed with sealant or a rivet, and either can fail on its own. Look for gaps around the outlet collar, rust streaks running down the downspout’s outer surface, or a loose fit that lets the downspout wiggle away from the outlet when you tug on it gently. Any of these signs means water is bypassing the connection instead of flowing through it.
A downspout that wiggles at the top is a leak waiting for its next rainstorm.
Reseal, reset, or replace the connection
Once you’ve confirmed the failure point, work through the repair in order:
- Detach the downspout from the outlet if it’s held by screws, then scrape old sealant from both the outlet collar and the downspout’s inner lip
- Degrease both surfaces and let them dry fully before reassembling
- Apply a bead of gutter-grade sealant around the inside of the outlet collar, then slide the downspout back into place
- Secure the connection with two or three self-tapping screws spaced evenly around the joint, since sealant alone won’t hold the weight of a full downspout during heavy flow
- Run a second thin bead of sealant around the outside seam where the downspout meets the outlet for extra protection against wind-driven rain
If the outlet itself is rusted through or the downspout has crimped edges that no longer seat properly, repairing leaking gutters at this stage means replacing the outlet piece rather than fighting a bad fit with more sealant. Outlet pieces cost little and swap in fast, and a solid mechanical fit backed by sealant outlasts sealant trying to do a screw’s job. Check that the downspout still angles slightly away from the foundation once reattached, since a straight or inward lean sends water right back toward your house.
Step 6. Stop leaks between the gutter and fascia
Sometimes water isn’t leaking through the gutter at all, it’s slipping behind it. If you see staining or rot on the fascia board itself rather than drips off the gutter’s front lip, the problem sits at the back edge where the gutter meets the house. This kind of leaking gutters repair gets missed often because homeowners assume every leak comes from the trough, when really the gutter has pulled slightly away from the house and water is running down behind it instead of into the channel.
Why gutters pull away from the fascia
Hangers loosen over time as wood expands, contracts, and occasionally rots where screws bite in. Once a hanger lets go, the back edge of the gutter drops just enough to open a gap between the gutter and the fascia board, and that gap is invisible from the ground but wide enough to funnel water straight onto the wood behind it. Ice weight in colder climates accelerates this, since a few pounds of frozen debris can pull a marginal hanger loose in a single winter. Press gently on the back lip of the gutter at a few spots along the run; if it flexes away from the fascia more than a quarter inch, you’ve found your leak source.
Water dripping from the fascia, not the gutter’s edge, almost always means a hanger has failed.
Reattach and reseal the back edge
Work through this sequence once you’ve confirmed a gap:
- Remove any rusted or stripped hangers and check the fascia board underneath for soft, rotted wood
- Replace rotted fascia boards behind the gutter before reattaching anything, since new hangers driven into soft wood will fail again within a season
- Install new hangers or brackets spaced no more than 24 inches apart, closer if your region sees heavy snow load
- Run a bead of gutter-grade sealant along the back lip where it meets the fascia, pressing the gutter snug against the board as you go
- Add a drip edge or gutter apron under the roofline if one isn’t already installed, since it directs water into the gutter instead of behind it
A drip edge costs little and solves this problem permanently on older homes that never had one installed. Skipping it means you’re likely to be back here fixing the same fascia leak again next season.
Step 7. Test the repair and prevent future leaks
Once every sealed spot has cured for the full time listed on the product label, usually 24 hours, run the same hose test from Step 1 to confirm the fix actually holds. Skipping this step is how homeowners end up reopening a ladder repair mid-winter, so don’t call the job done until you’ve watched water move through the system without a single drip. Fixing leaking gutters only counts once you’ve verified it under real water flow, not just visual inspection.
Re-run the hose test on every repaired spot
Start the hose at the far end of the run again and work toward the downspout, pausing at each marked repair for a full minute before moving on. Watch the seams, corners, and downspout connection closely, since a slow bead of water can take longer to show than you’d expect. Check the fascia line too, since a repair that stopped the front leak but missed the back gap will still stain the wood over time.
If water passes every marked spot dry, you’re done. If not, go back and rework that one joint rather than resealing the whole run.
Build a maintenance habit that prevents repeat leaks
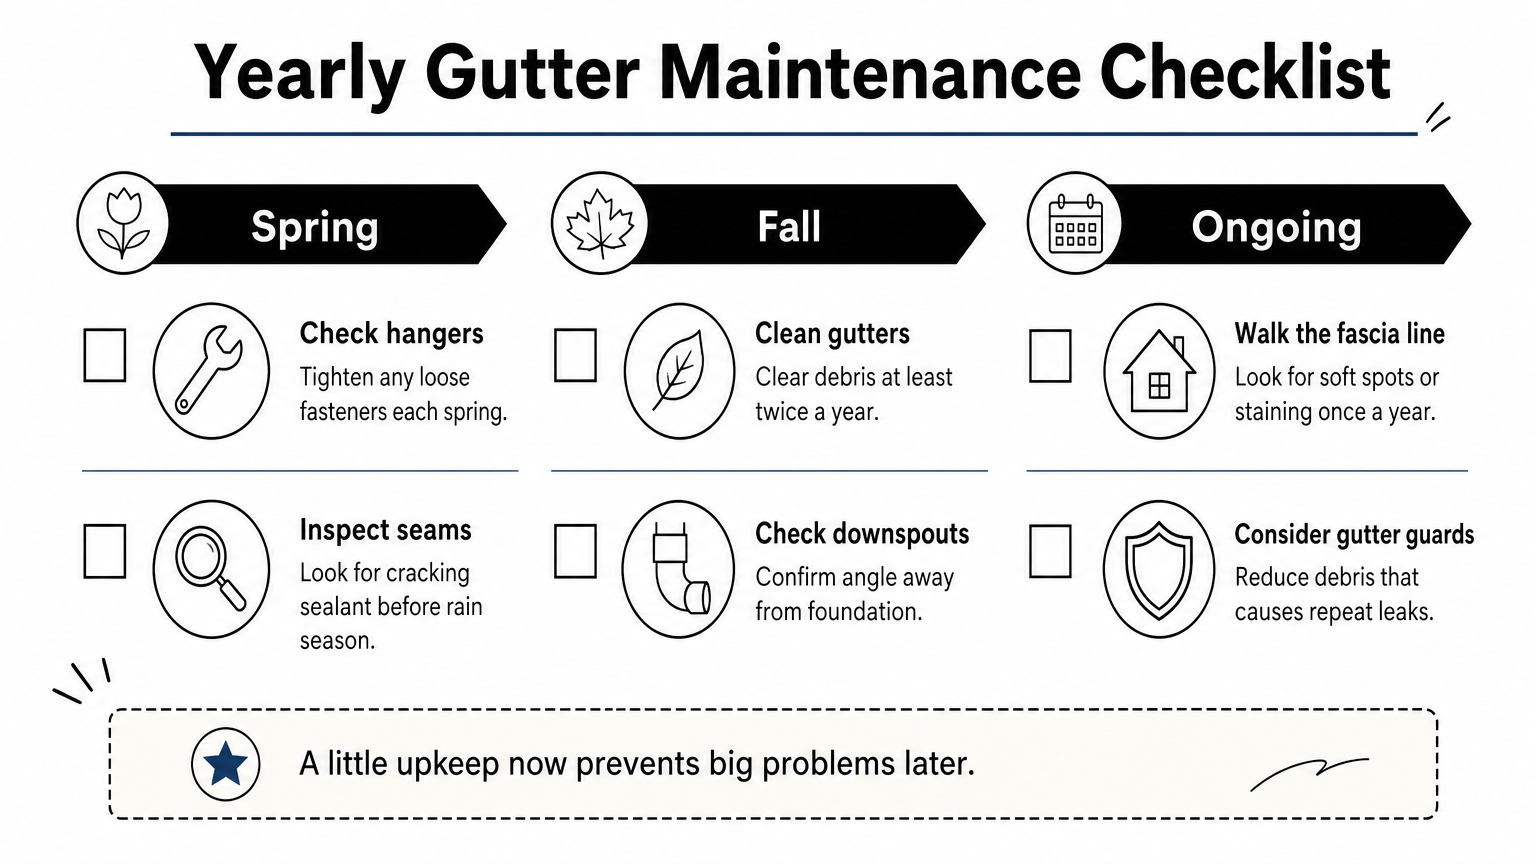
Most leaks come back because the conditions that caused them never changed, not because the sealant failed on its own. A gutter that fills with debris every fall will keep stressing the same seams no matter how well you sealed them this time. Build these habits into your yearly routine:
- Clean gutters at least twice a year, more often under heavy tree cover, and weigh what a pro charges for a cleaning visit against doing it yourself
- Check hanger spacing and tighten any loose fasteners each spring
- Inspect seams and end caps for cracking sealant before peak rain season
- Confirm downspouts still angle away from the foundation after freeze-thaw cycles
- Walk the fascia line for soft spots or staining once a year
Gutter guards cut down on the debris buildup that causes a lot of these repeat failures, since less trapped leaf litter means less standing water working against your seams. If you’re tired of climbing the ladder every few months to chase the same drip, comparing the best rated gutter guards is worth the time. Either way, a repair done right with clean prep and the right sealant should hold for years, not months, so treat any leak that returns within a season as a sign the prep step got rushed the first time around.
Keeping your gutters leak-free for good
Most gutter leaks come down to a handful of failure points: dried-out seam sealant, a corner miter under stress, a loose downspout connection, or a gap where the gutter has pulled away from the fascia. Work through each one methodically, clean and dry every surface before sealing, and you’ll fix leaking gutters in an afternoon instead of chasing the same drip all season. Nailing the prep step is what separates a repair that lasts five years from one you’re redoing after the next storm.
Sometimes the smarter move isn’t another tube of sealant. If your gutters are rusted through, sagging badly, or leaking at three or four spots on the same run, you’re patching a system that’s past its useful life. Rather than keep climbing the ladder, have a local pro price out your gutter repair for free and find out whether a targeted fix or a longer-term solution makes more sense for your home.
What should this cost you?
Answer four questions and get a fair price range for your home.