
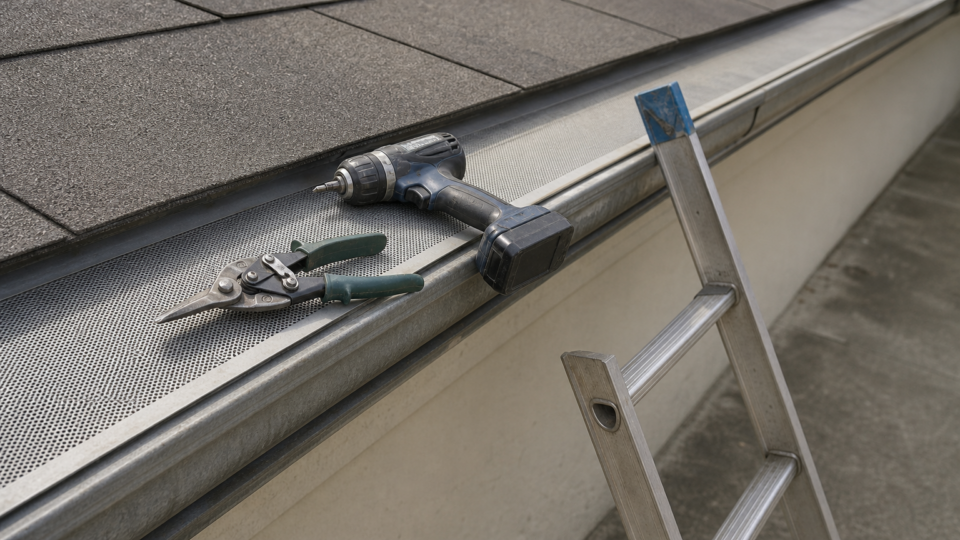
Short answer: To handle micro mesh gutter guards installation yourself, clean and flush the gutters, measure the run, and cut the panels to length. Then lay each panel mesh side up, with the front edge seated on the gutter lip and the back edge tucked under the first row of shingles or fastened to the fascia, as your manufacturer specifies. Screw it down, join the seams tight, and test with a hose. On a one-story home with straight runs, this is often a weekend job with basic hand tools. Ready for quotes? Compare local pros →
In this guide
Most failed installs come from a handful of mistakes. People bury old debris under the mesh, buy the wrong panel width, or run out of material at the corners. Some set the back edge too low, so water slides behind the gutter instead of through the mesh. Each mistake means pulling screws and recutting stainless mesh, and the cut edges are sharp.
This guide walks through the job in the order you do it: what to gather, how to prep the gutters, how to measure and cut, how to fit and secure the panels, and how to test the result. The guide was written by Marcus Delaney, a former gutter installer, and reviewed by Dana Whitfield, a home inspector. If your product’s printed instructions ever disagree with this guide, follow the printed instructions.
What you need before installing micro mesh guards
You need a stable ladder, cut-resistant gloves, snips, a drill, a tape measure, and enough panels for your gutter run plus a margin for waste. Sort this out first, because stopping mid-roof to fetch a tool is how people fall or rush.
Tools and materials
Gather everything on this list before you climb.
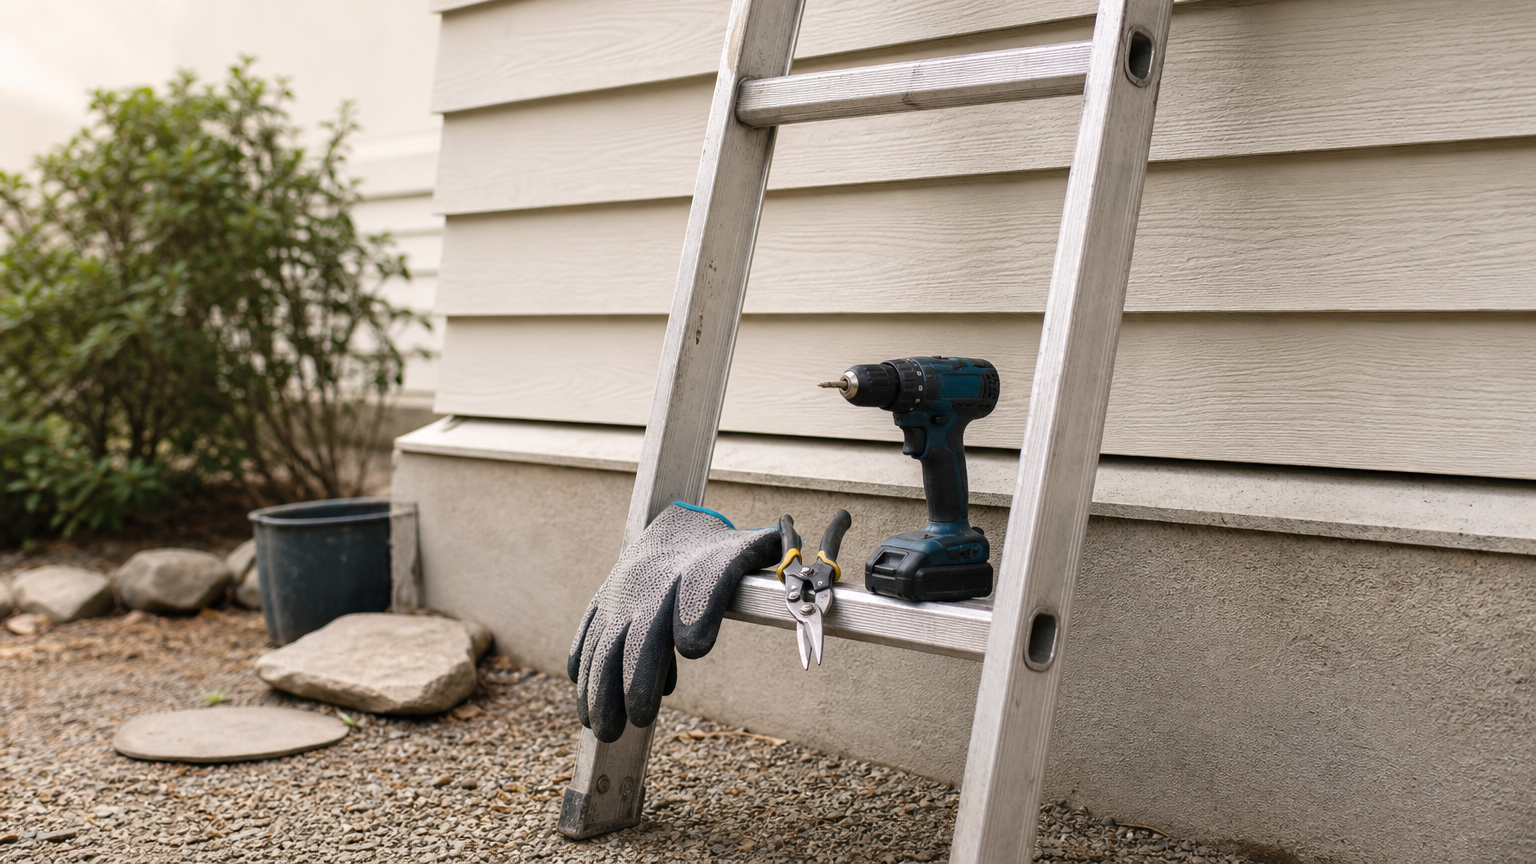
- Extension ladder with a stabilizer or standoff, set on firm, level ground
- Work gloves, ideally cut-resistant, and safety glasses
- Aviation snips or tin snips, whichever your instructions recommend
- Cordless drill with the bit that matches the supplied screws
- Tape measure, marker, and a 2-foot level
- Gutter scoop, garden hose, and a bucket for debris
- Gutter sealant and a few spare hangers or screws for repairs
- Micro mesh panels with the screws supplied for your product
Stainless mesh edges cut skin easily, so gloves are not optional.
Gather every tool and part before you leave the ground, because mid-job trips down the ladder cause the mistakes.
How much to buy
Measure the total gutter length on the ground, then add roughly 10 percent for cuts at corners, miters, and end caps. For example, a house with 120 feet of gutter and 4-foot panels needs 30 panels. Adding 10 percent gives 33 panels, or 132 feet of coverage. Round up, because a short run at the last corner is the most common regret.
Check roof type and safety
Your roof type decides how the back edge of the panel attaches. On asphalt shingles, many systems tuck the panel under the first course. Lifting shingles can affect your shingle warranty, so check both warranties before you commit. Metal roofs, flat roofs, and tile roofs usually need a different attachment, so look up the configuration for your roof in the product instructions.
Know your limits too. A second-story gutter is a hire-a-pro job for most homeowners, because ladder falls cause serious injuries. Keep three points of contact, never reach past your belt buckle, and move the ladder instead.
What should this cost you?
Answer four questions and get a fair price range for your home.
Step 1. Clean and prepare the gutters
Remove every bit of debris and confirm the gutters drain before you install anything. Micro mesh keeps new debris out, but it also seals in whatever you leave behind.
Clear and flush
Scoop out leaves and sludge by hand into a bucket, then flush each run with a hose toward the downspout. Watch the outlet. If water backs up, clear the downspout from the bottom with the hose or a plumber’s snake before moving on. Do not skip the flush, because a clog found after installation means removing panels.
Fix problems first
Check that each gutter pitches toward its downspout, about 1/4 inch per 10 feet. Pour water in and look for standing pools. Reseat loose hangers, replace old spikes with screws or hidden hangers, and seal leaking seams and end caps with gutter sealant. Let the sealant cure per the label.
Also look at the fascia behind the gutter. Soft or rotted fascia will not hold screws, and guards cannot fix sagging gutters.
Sealing a dirty, sagging, or leaking gutter under mesh just hides the problem until it gets worse.
Step 2. Measure and cut the panels
Measure the gutter opening width, pick the matching panel width, and cut panels to length for each run. Accurate measuring now saves the most material later.
Measure the width
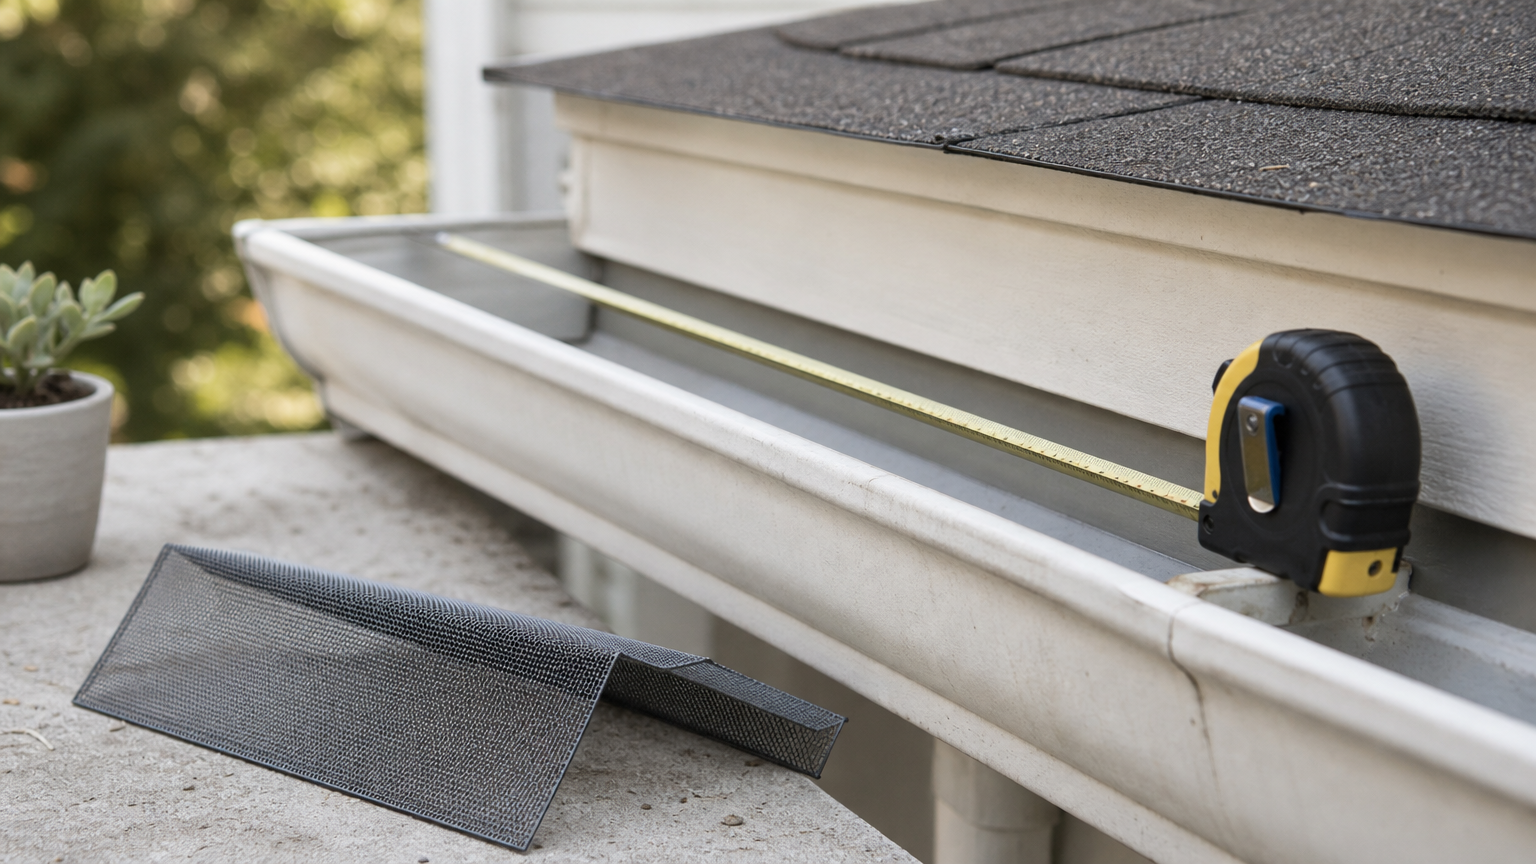
Measure from the front top lip of the gutter straight back to the fascia, just under the roof edge. Many micro mesh products come in two widths, and this table shows the typical logic.
| Measured opening | Panel width to buy |
|---|---|
| 5 inches or less | 5-inch panel |
| 6 to 7 inches | 6-inch panel |
Confirm these cutoffs against your product’s sizing chart, since they vary by brand.
Cut to length
Lay out each run and mark where panels meet, so seams do not land on corners or downspout outlets. Use snips to cut straight across, and wear gloves while you do. Cut the mesh and frame together unless your instructions say otherwise, and cut one panel as a test before you cut the rest. Keep offcuts, because they fill short gaps near end caps.
Measure the opening, not the gutter’s labeled size, because the fit against your fascia is what counts.
Step 3. Fit and secure the panels
Set each panel with the mesh facing up, the front edge on the gutter lip, and the back edge in place under the shingle or against the fascia. Then screw it down and move to the next one.
Which way the mesh faces
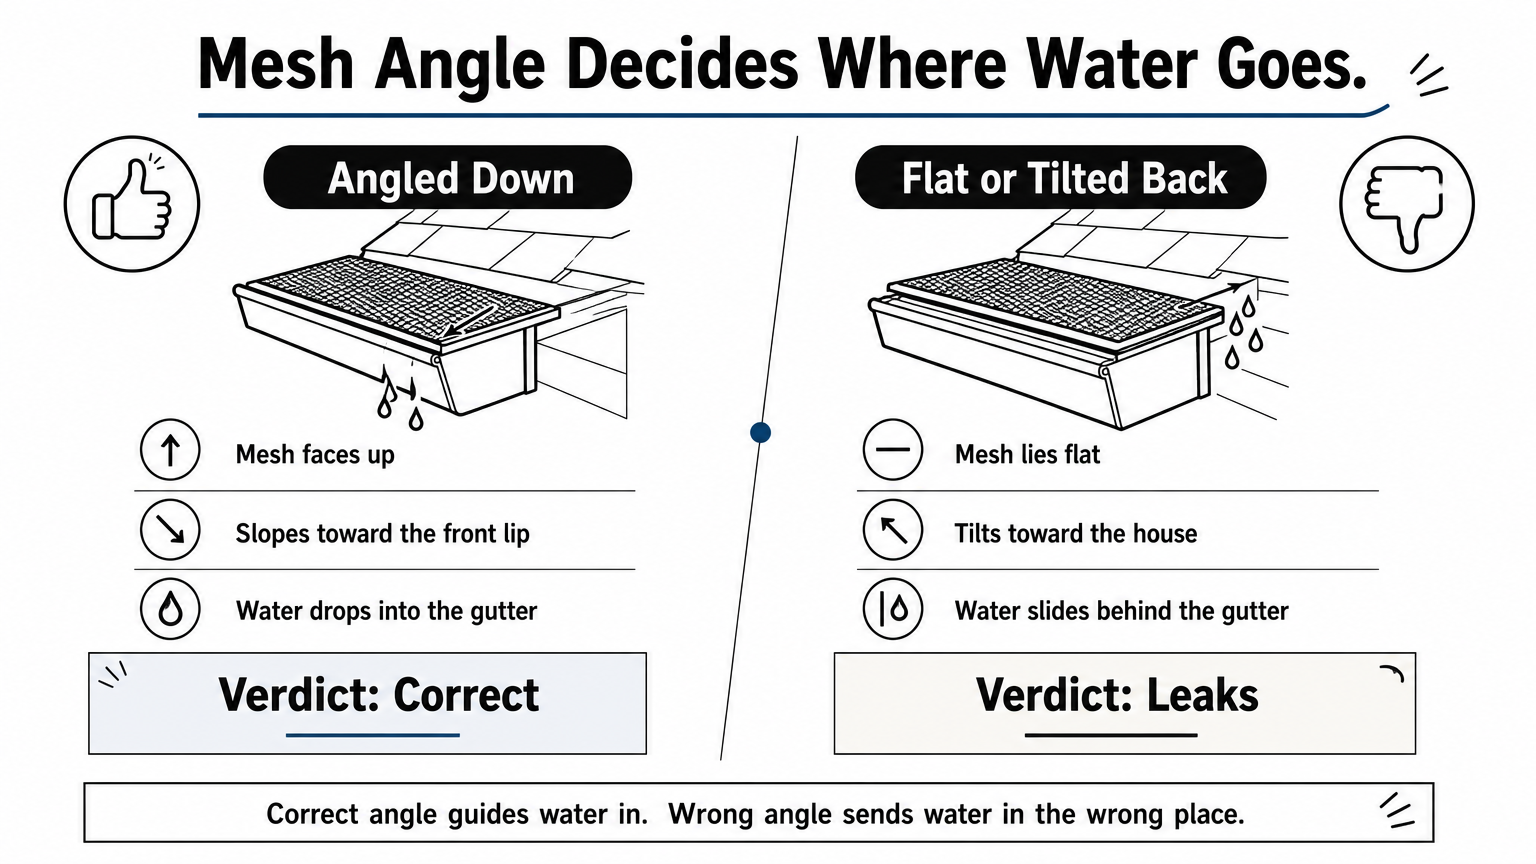
The mesh goes on top. The fine screen is what sheds leaves and lets water pass through, and the supporting frame or ribs sit underneath. If your panel has printed markings or a bent edge, follow them. The panel should angle down from the roof toward the front lip, roughly matching the roof pitch. A panel that sits flat or tilts back toward the house sends water behind the gutter.
Set, screw, and join panels
Start at one end of a run and work toward the other. Seat the front edge, slide the back edge into position, and check that the panel lies flat without bowing. Drive the supplied screws at the spots and spacing the instructions show. Tighten until snug, but do not overdrive the screws, because that dimples the mesh and can strip thin gutter metal.
Butt the next panel tightly against the last, or overlap it if your instructions say so. Leave no gap, because even a narrow gap lets in pine needles and shingle grit.
Corners and end caps
For inside and outside corners, cut a 45-degree miter on each panel so the two edges meet cleanly at the corner. Test-fit before you screw anything down. At end caps, trim the mesh so it sits tight against the cap with no opening. Work slowly here, because corners and ends are where leaks start.
Mesh facing up, tilted toward the front lip, with no gaps, is the whole job in one sentence.
Step 4. Test the install and maintain it
Finish with a water test, then plan a light cleaning routine. A few minutes with a hose shows whether the guards actually work.
Run a water test
Spray the roof edge above each run, starting at the high end, and watch the water. It should flow across the mesh and drop through into the gutter, with no spilling over the front and nothing running behind. Check the downspout outlet for steady flow. If water overshoots, recheck the panel angle and the seam at that spot.
Keep the mesh clear
Micro mesh stops leaves and most debris, but fine grit, pollen, and shingle granules can film over the surface. Rinse the mesh once or twice a year with a hose, or sweep it gently with a soft brush. Do it after heavy leaf drop. Never use a wire brush, which can damage the weave.
Ready to install, or ready to hand it off?
Good micro mesh gutter guards installation comes down to four things: clean and sound gutters, the right panel width, mesh facing up at the correct angle, and tight seams at corners and ends. Do those and the water test will confirm the result.
If the job is more than you want, such as a second story, a steep roof, or damaged fascia, there is no shame in hiring it out. You can get a free quote for gutter guard installation, which shows an estimated cost range first so you can compare it with the cost of doing it yourself.
What should this cost you?
Answer four questions and get a fair price range for your home.