
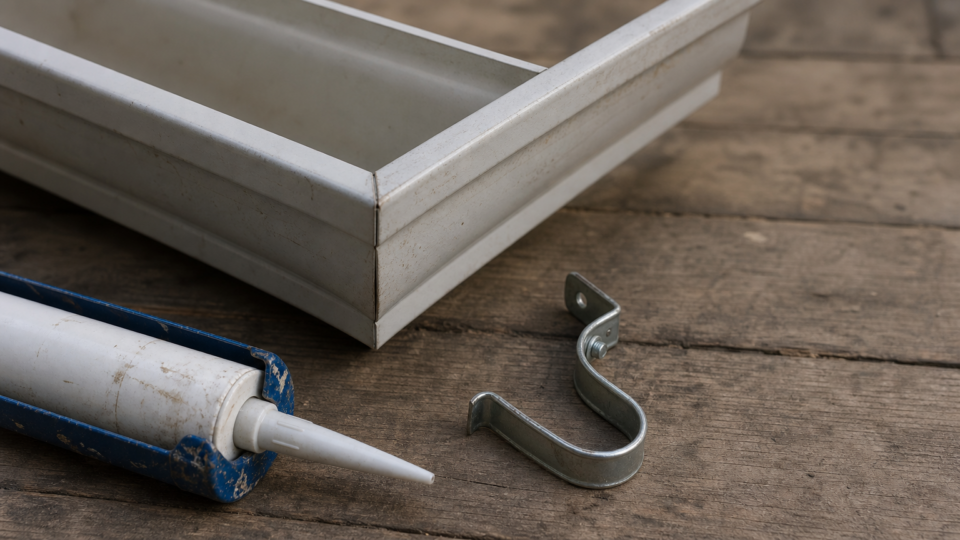
Short answer: Water dripping off the side of your gutter instead of through the downspout usually means one thing: you’ve got leaking rain gutters. Maybe you noticed a stain creeping down your siding, or you spotted a drip during the last storm and can’t figure out where it’s coming from. Either way, that leak won’t fix itself, and ignoring it can lead to bigger repair bills down the road. Ready for quotes? Compare local pros →
In this guide
Most of the time, gutters leaking at joints or seams comes down to a handful of predictable causes: failed sealant, loose fasteners, corrosion, or gutters that were never pitched correctly during installation. Even new gutters leaking are usually a sign of a sloppy install rather than a defective product, and the fix is often simpler than homeowners expect.
This guide walks through the most common reasons for leaking gutters, how to tell which one applies to your house, and the step-by-step repairs for seams, joints, corners, and end caps. If your gutters need more than a patch job, we’ll also cover when it’s time to call a pro instead of doing it yourself.
Why your rain gutters are leaking
Before you grab a caulk gun, it helps to know what actually causes rain gutters leaking in the first place. Gutter systems are built from short sections joined together with sealant and fasteners, and every one of those connection points is a potential failure spot. The good news is that leaks almost always trace back to a small set of causes, so once you know what to look for, diagnosing your specific problem gets a lot faster.
Sealant failure at joints and seams
Sealant is the number one reason gutters leaking at joints show up year after year. Manufacturers apply a bead of gutter sealant at every seam, corner, and end cap during installation, but that sealant is exposed to UV rays, freeze-thaw cycles, and standing water constantly. Most sealants only last five to ten years before they crack, shrink, or peel away from the metal.
Sealant failure at the seams causes more gutter leaks than any other single problem.
Rust, holes, and physical damage
Galvanized steel gutters rust from the inside out once their zinc coating wears thin, especially in gutters that hold standing water because of poor slope. Falling branches, ladders leaned against the fascia, and even aggressive cleaning tools can also puncture aluminum sections, creating pinhole leaks that are easy to miss until a stain shows up on your siding.
Installation errors and loose hardware
A surprising number of new gutters leaking cases come down to installation mistakes rather than product defects. Gutters need roughly a quarter inch of drop for every ten feet toward the downspout, and gutters hung too flat pool water at the joints, straining the sealant until it fails.
| Cause | Common Sign | Typical Fix |
|---|---|---|
| Failed sealant | Drips at seams during rain | Reseal joint |
| Rust or corrosion | Orange staining, thin metal | Patch or replace section |
| Physical damage | Visible dent, hole, or crack | Patch with sealant/flashing |
| Poor slope | Standing water after rain stops | Re-hang with correct pitch |
| Loose fasteners | Gutter sags or pulls from fascia | Replace hangers/screws |
Understanding why are my gutters leaking in your specific case sets up everything else in this guide, since the fix for a rusted-out section is different from the fix for a joint that just needs fresh sealant.
What should this cost you?
Answer four questions and get a fair price range for your home.
Step 1. Find where the gutter is leaking
Before you fix anything, you need to pinpoint the exact spot where water escapes. Gutters leaking water rarely leak where the stain appears on your siding, since water often travels along the gutter bottom before it drips off. Skipping this step means you’ll patch the wrong spot and end up back on the ladder next week.
Run a hose test
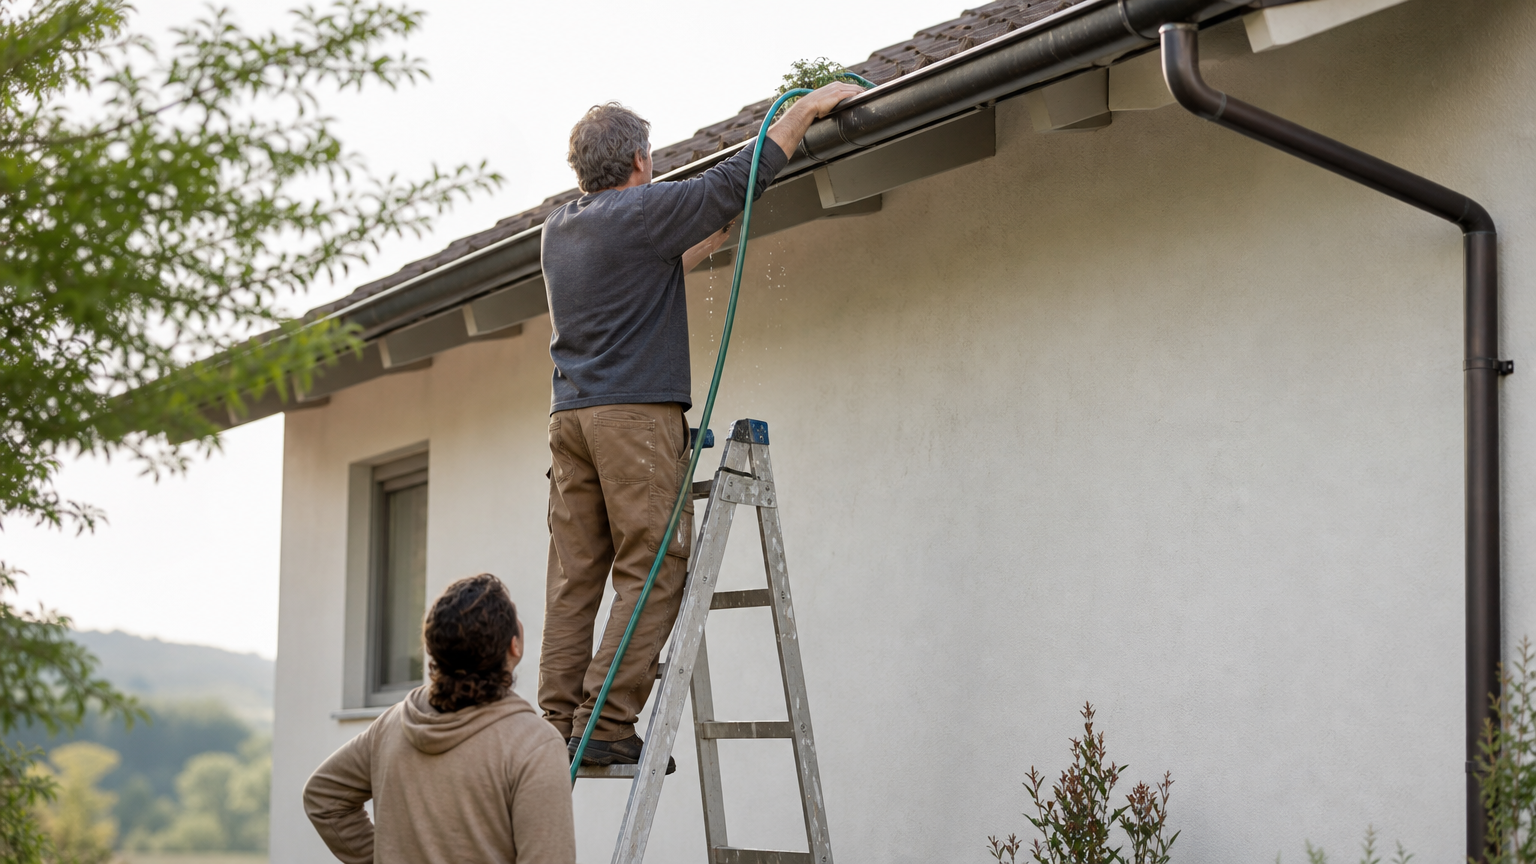
Grab a garden hose and a helper if you can. Have one person run water slowly at the high end of the gutter run while the other watches from below, section by section, starting near the downspout and working backward. This mimics real rainfall better than just eyeballing the gutter after a storm, and it catches slow drips that dry up fast in the sun.
A slow, section-by-section hose test finds leaks that a quick visual inspection always misses.
Check the usual suspects first
Most leaking gutters problems show up in the same handful of locations, so check these before assuming you have a mystery leak:
- End caps, where sealant separates from the metal edge
- Corner miters, which flex more than straight runs
- Downspout outlets, where debris buildup forces water backward
- Seams between straight sections, especially on older sectional gutters
- Screw and hanger holes, where fasteners have backed out slightly
Mark it before you forget
Once you spot a drip, mark the exact location with a grease pencil or a strip of tape. Leaks are easy to lose track of once the gutter dries, and you’ll want an exact reference point when you start applying sealant in the next step.
Step 2. Reseal leaking joints and seams
Once you’ve marked the leak, resealing is usually the fastest fix for gutters leaking at joints. This works best on aluminum and steel gutters where the metal underneath is still solid, since sealant can’t bond to rust or bridge a real structural gap.
Clean and dry the joint completely
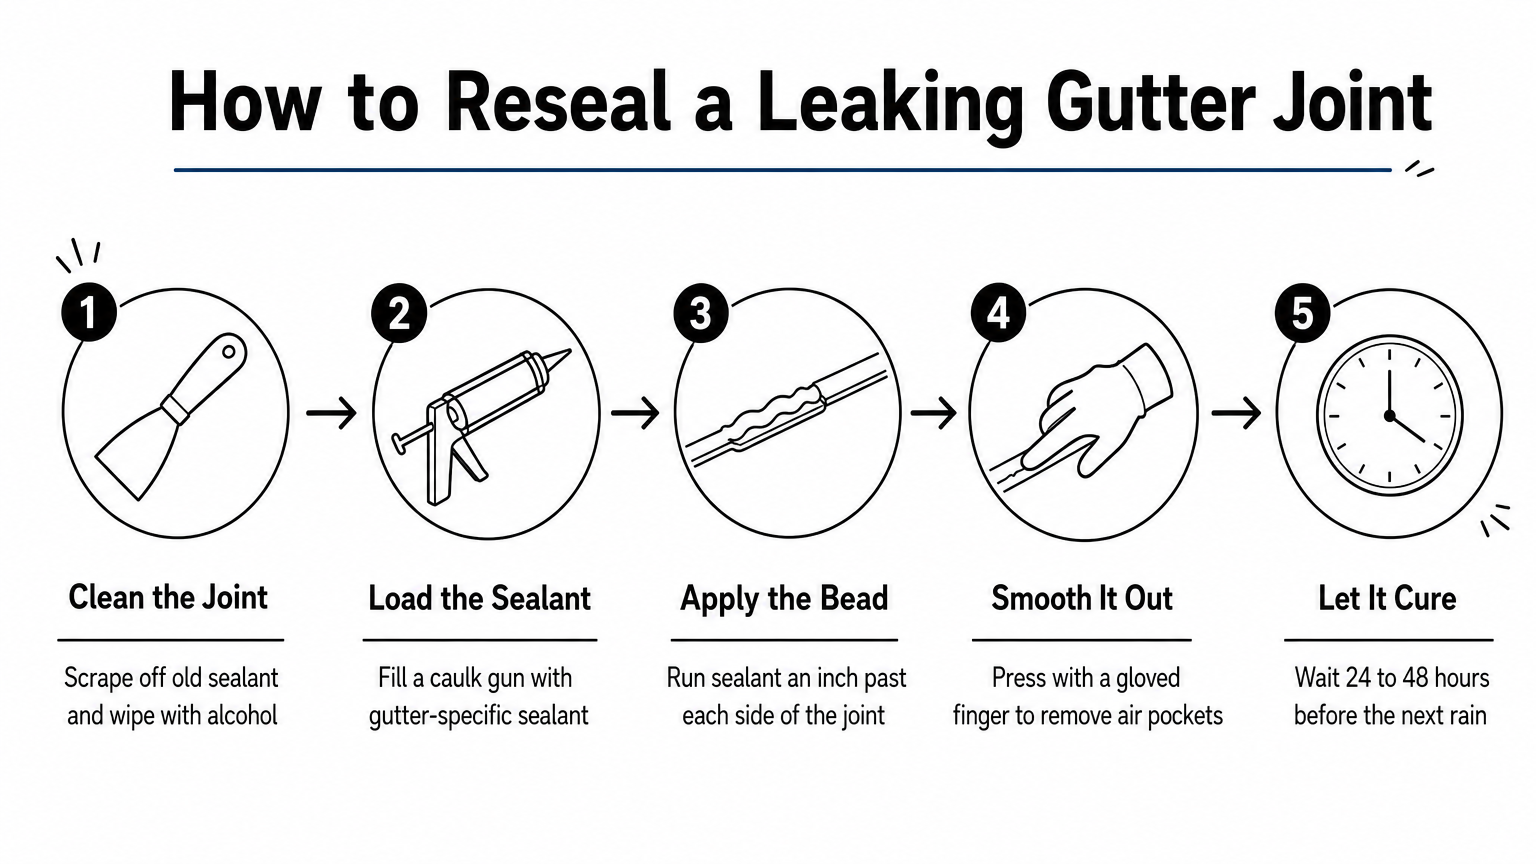
Old sealant won’t let new sealant stick, so scrape away every bit of the cracked or peeling bead with a putty knife before you start. Wipe the area down with denatured alcohol or a wire brush to strip off grime and oxidation, then let the seam dry fully. Applying fresh sealant over a damp or dirty joint is the number one reason a resealing job fails within a season.
Resealing a dirty joint just buys you a few weeks before the leak comes back.
Apply the right sealant correctly
Use a gutter-specific sealant, not general-purpose caulk, since it’s formulated to flex through freeze-thaw cycles and resist standing water. Here’s the process:
- Load a tripolymer or polyurethane gutter sealant into a caulk gun.
- Run a continuous bead along the inside of the seam, covering roughly an inch on either side of the joint.
- Smooth the bead with a gloved finger or a putty knife for full contact.
- Let it cure per the label, usually 24 to 48 hours, before the next rain.
Reseal end caps and corners the same way
End caps and corner miters take more stress than straight seams, so give them a slightly heavier bead and press firmly to force out air pockets before the sealant sets.
Step 3. Patch holes, cracks, and rust spots
Sealant alone can’t fix a hole. If your hose test or visual check turned up a pinhole, a rust patch, or a crack from a fallen branch, you need to bridge that gap with something more substantial before sealant goes anywhere near it. Trying to caulk over an open hole just gives you a slightly slower leaking gutter problem, not a solved one.
Prep the damaged area
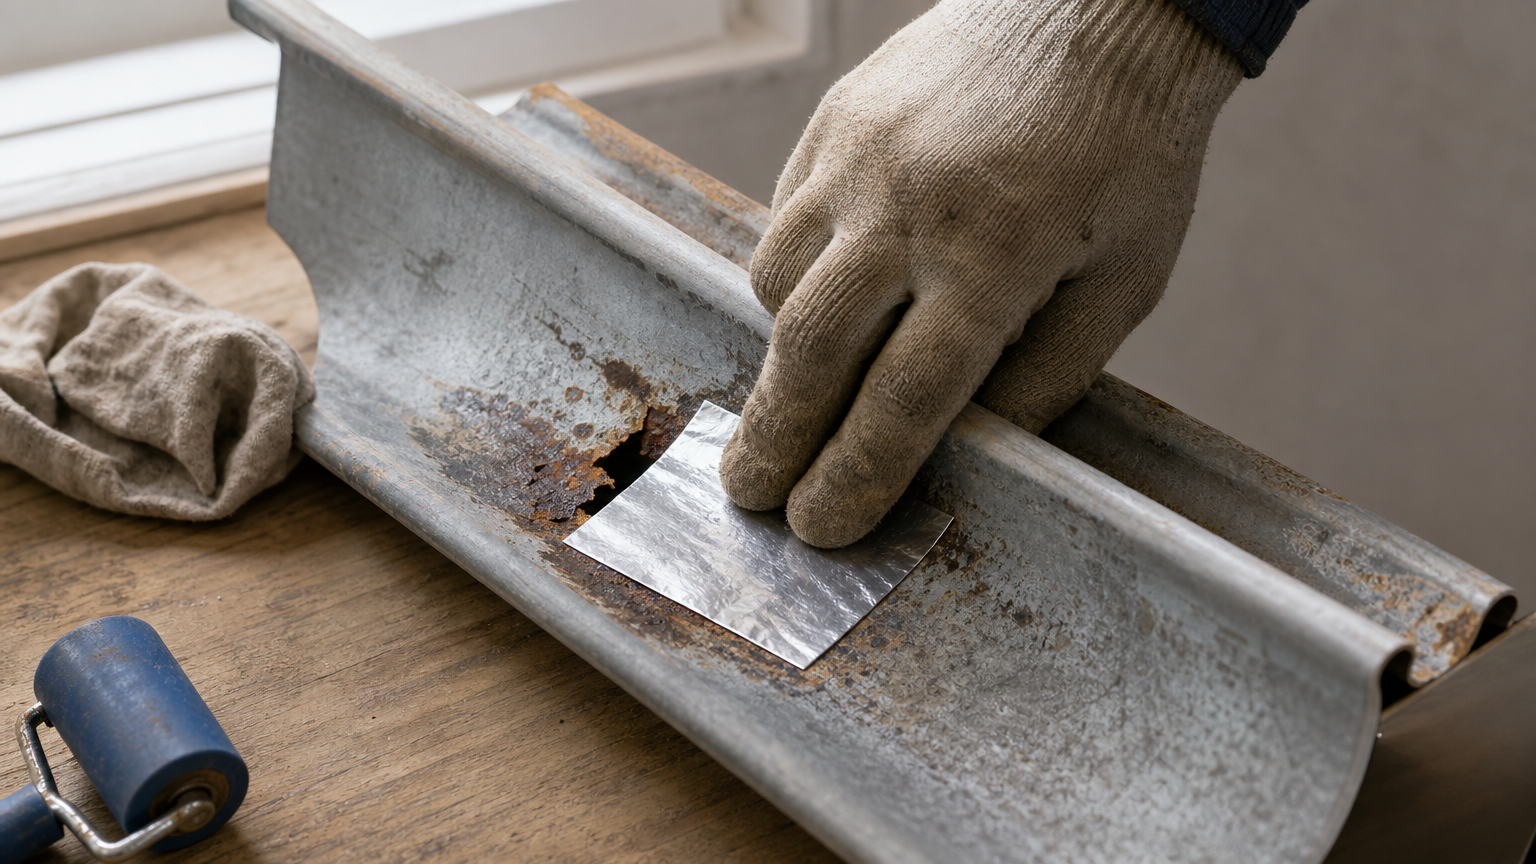
Start by scraping away loose rust, flaking paint, and old sealant with a wire brush until you reach solid, sound metal. Rust spots almost always extend beyond what’s visible on the surface, so keep brushing until the metal underneath looks bright and clean, not just less orange.
A patch bonds to clean metal, never to rust or old paint.
Apply the patch
For small holes under an inch, self-adhering flashing tape works well and cures fast. For anything bigger, use this approach:
- Cut a piece of aluminum flashing or gutter patch fabric slightly larger than the damaged area.
- Coat the back of the patch and the surrounding gutter metal with gutter sealant.
- Press the patch firmly into place, working out air bubbles from the center outward.
- Run a second bead of sealant around the patch’s edges to seal it fully.
- Let it cure at least 24 hours before the next rain.
Know when to stop patching
If rust has eaten through more than a few spots along one run, patching becomes a losing game. Replacing that section is cheaper long term than repeating this step every season, and it helps to know what replacing gutters costs before you decide.
Step 4. Fix slope and loose fasteners
Sealant and patches only hold if the gutter itself is hanging correctly. If your gutters leaking water keep coming back even after resealing, the real problem is often slope or hardware, not the seams themselves.
Check and correct the slope
Standing water after a storm means your gutter isn’t pitched right. Gutters need about a quarter inch of drop per ten feet toward the downspout, and even a slight sag creates a low spot where water pools and pushes past the sealant. Set a level against the gutter run and check the pitch at both ends and the middle. If a section reads flat or tilts the wrong way, loosen the hangers nearest that spot, reset the pitch, and re-tighten before moving on.
Standing water in a gutter almost always means bad slope, not bad sealant.
Tighten or replace loose hangers
Loose fasteners let the whole gutter pull away from the house, which stresses every joint along that run. Work down the gutter and check each hanger:
- Snug any screws that have backed out, using slightly longer ones if the original holes have worn out.
- Replace spike-and-ferrule hangers with hidden hangers, which hold better long-term.
- Add an extra hanger anywhere spans exceed 36 inches.
- Re-check slope after tightening, since hardware adjustments shift the pitch.
If more than a few hangers have pulled loose, the fascia board behind them may be rotted, and fixing rotted boards behind gutters is a job worth getting a quote on rather than guessing at.
Keeping your gutters leak-free for good
Most leaking rain gutters trace back to one of four fixable problems: failed sealant, a hole or rust spot, bad slope, or loose hardware. Work through the four steps in order and you’ll fix the vast majority of leaks without ever calling a contractor.
Staying ahead of the problem matters more than any single repair. Clean your gutters twice a year, walk the roofline after big storms, and check sealant condition every couple of seasons before a small drip turns into a rotted fascia board or a soaked foundation wall.
Some jobs go beyond a caulk gun and a patch kit, though. If your gutters have widespread rust, sagging beyond a quick hanger fix, or damage tied to fascia rot, get a second opinion before you sink more weekends into patches. Have a local pro estimate the gutter repair for free and find out whether a repair or a full section replacement makes more sense for your situation.
What should this cost you?
Answer four questions and get a fair price range for your home.