
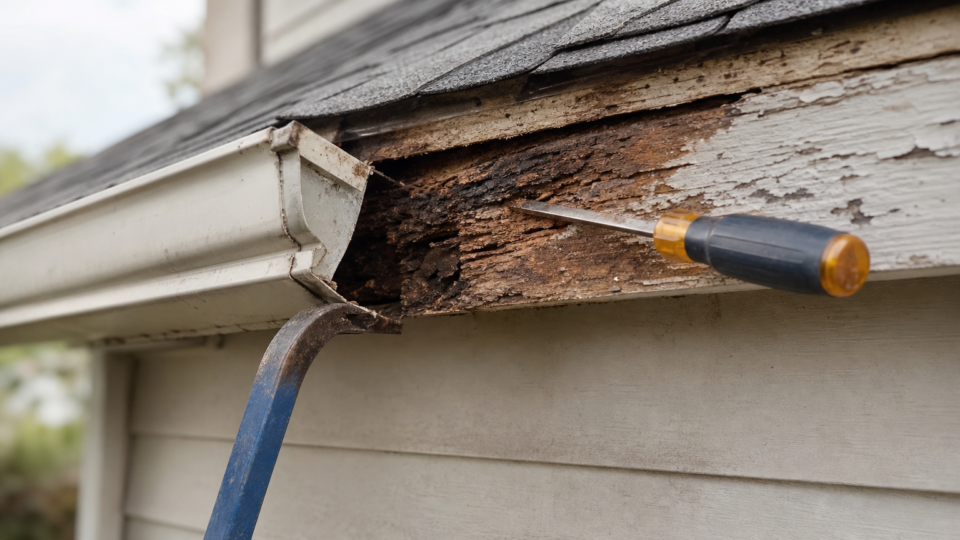
Short answer: If your gutters have pulled away from the roofline or you spotted soft, dark wood when you peeked behind the downspout, you’re dealing with fascia gutter repair, not just a gutter problem. The fascia board is what your gutters hang from, and once it rots, no amount of re-hanging or resealing will hold. Water finds that weak spot fast, and it rarely stops at one board. Ready for quotes? Compare local pros →
In this guide
This guide walks you through how to repair fascia board behind gutter damage, from spotting rot early to deciding whether you’re looking at a patch job or a full board replacement. You’ll learn the tools and materials involved, the actual steps for gutter and fascia repair, and where DIY makes sense versus where it doesn’t.
We’ll also cover realistic costs, since fascia work varies a lot depending on how much wood is compromised and whether your gutters need to come down first. If you’d rather skip the ladder time, we’ll point you toward getting quotes from local pros too. Written from a former gutter installer’s perspective, this is the straight answer on gutter repair fascia work, without the sales pitch.
Signs your fascia needs repair and what you’ll need
How to spot fascia damage before it spreads
Grab a ladder and look behind your gutters before you assume the problem is just a clog or a loose hanger. Soft or spongy wood is the biggest red flag. Press a screwdriver into the board where the gutter hangers attach. If it sinks in easily, you’ve got rot, not just weathering. Peeling paint, dark streaking below the gutter seam, and gutters that sag or pull away from the roofline all point to fascia damage rather than a simple gutter fix.
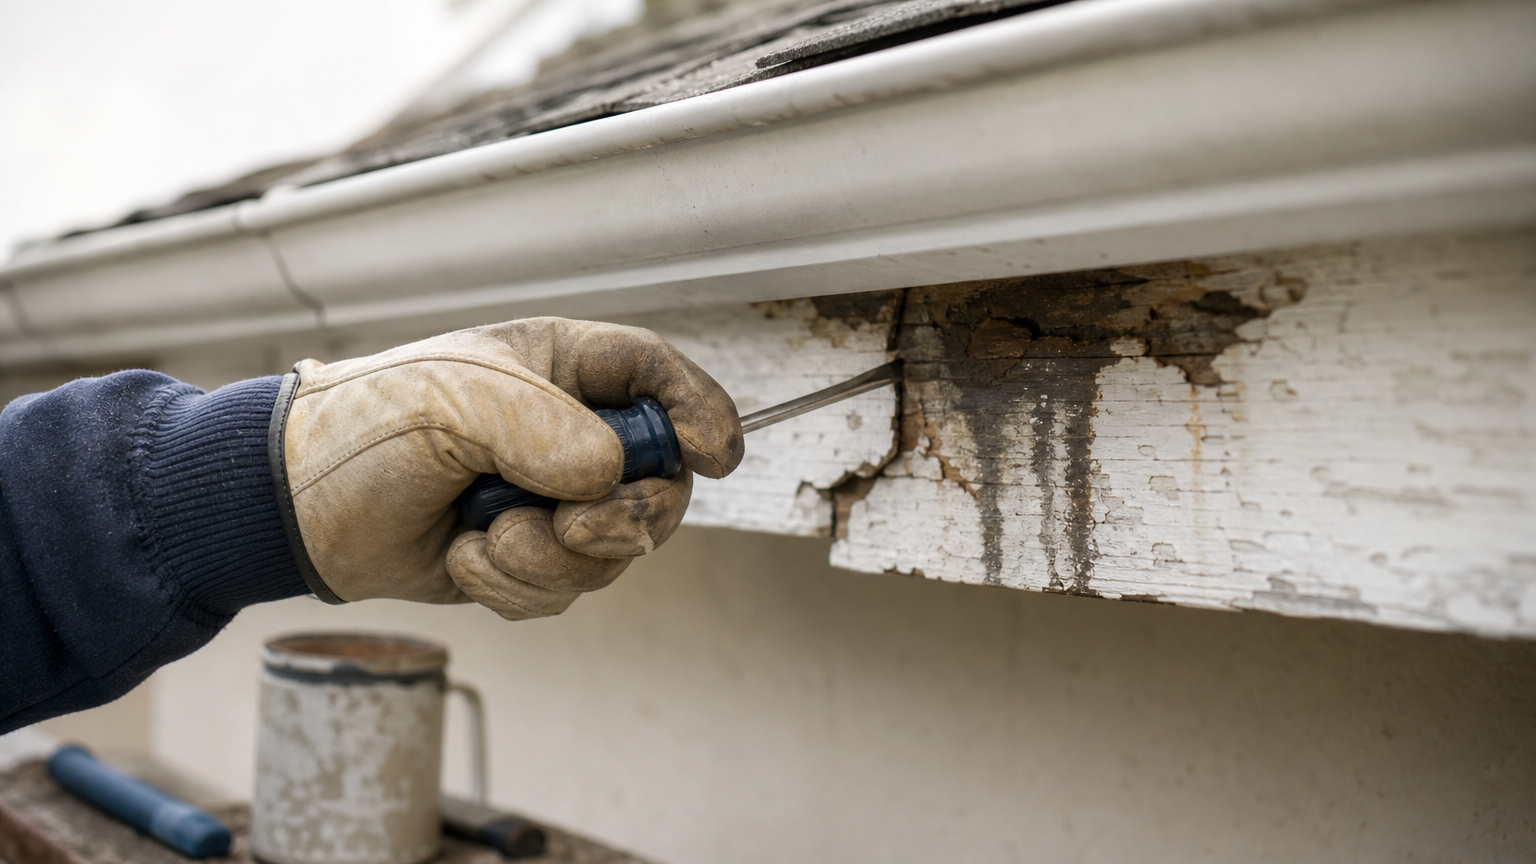
Wasps, carpenter ants, or woodpeckers hanging around one section of trim is another tell. Insects go after wet, decaying wood, so their presence usually means moisture has been sitting there for a while. Check the soffit underneath too. Water stains on the soffit almost always trace back to a failed fascia board or a gutter that’s been overflowing for months.
If you can push a screwdriver into the wood behind your gutter, you’re not looking at a repair anymore, you’re looking at a replacement.
Tools and materials for gutter and fascia repair
Once you’ve confirmed rot, gather everything before you climb up, since running back and forth for supplies is how small jobs turn into weekend-long projects. Most homeowners tackling gutter repair fascia work themselves need a fairly standard kit:
- Pry bar and hammer for removing gutter hangers and old trim
- Reciprocating saw or circular saw for cutting out damaged sections
- Pressure-treated 1×6 or 1×8 fascia board (match your existing dimensions)
- Exterior wood sealer or primer
- Galvanized or stainless deck screws (not nails, they back out over time)
- Caulk rated for exterior use
- Ladder stabilizer and safety glasses
Buy pressure-treated lumber whenever it will sit this close to a gutter. Standard pine looks the same on the shelf but rots again within a few years once it’s back behind a gutter that occasionally overflows. If more than a few feet of board are affected, or you’re unsure how far the rot extends into the rafter tails, it’s worth having a contractor take a look before you start cutting, since hidden structural damage changes the scope of the job fast.
What should this cost you?
Answer four questions and get a fair price range for your home.
Step 1. Remove the gutters and old fascia board
Start by locating the gutter hangers, the spikes or brackets screwed straight through the gutter into the fascia board. Pull each one with a flathead screwdriver or drill, working from one end of the run to the other so the gutter section stays supported until the last hanger comes out. Have a helper hold the gutter or rest it on a sawhorse once it’s loose. A ten-foot section of waterlogged aluminum gutter is heavier than it looks, and letting it drop can bend the trough or knock loose shingles above it.
With the gutter down, you’ll see the full extent of the fascia gutter repair ahead of you. Use a pry bar to work the damaged board away from the rafter tails, backing out any remaining nails or screws as you go. Rotted wood often crumbles rather than pulls, so expect to clear out soft chunks by hand in spots.
Never cut into fascia while the gutter is still hanging on it, that’s how ladders and boards both end up on the ground.
Check the rafter tails and sub-fascia underneath once the old board is off. Soft or discolored wood there means the rot traveled past the fascia itself, and you’ll need to address that structural wood before installing anything new. Grab exterior-grade screws rather than nails when you eventually reattach, since nails work loose under the seasonal expansion and contraction that fascia boards go through year-round.
Step 2. Cut and install the new fascia board
Measuring and cutting the replacement piece
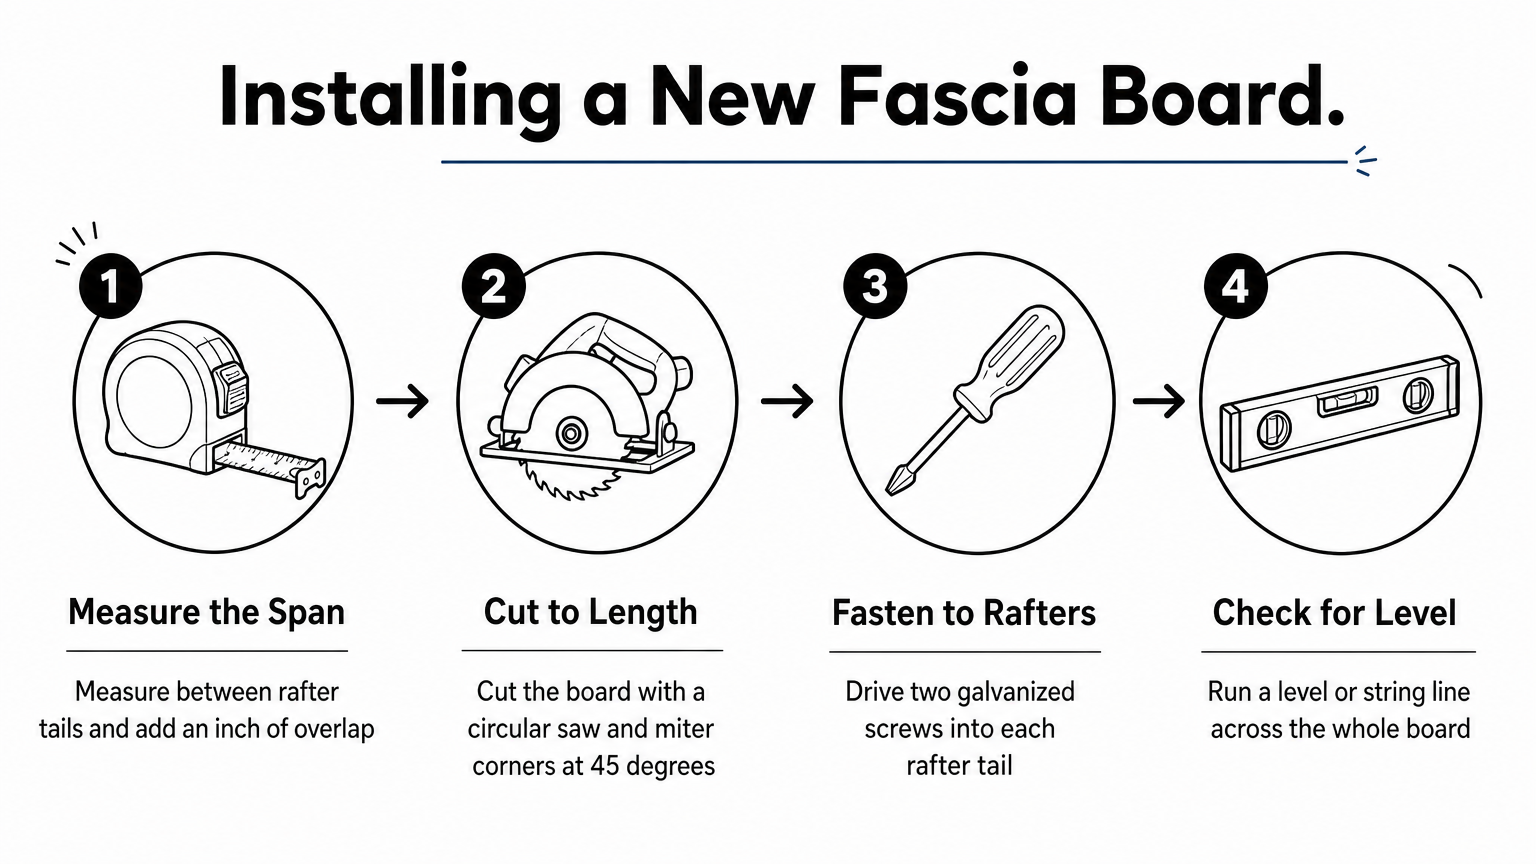
Measure the span between rafter tails before you cut anything, since old fascia rarely matches modern lumber dimensions exactly. Add an inch of overlap on each end so the new board ties into solid wood, not just butts against the last rafter tail. Cut your pressure-treated fascia board to length with a circular saw, and if the run is long, plan your seam to land directly over a rafter tail so both pieces get full support. Miter the corners at 45 degrees if your fascia wraps a corner of the house; a square butt joint there just invites water in from day one.
Fastening the board to the rafter tails
Hold the new board against the rafter tails and check it sits flush with the roof edge before driving a single screw. Gaps here telegraph straight through to a crooked gutter line later. Drive two galvanized deck screws into each rafter tail, spacing them so the board can’t twist or bow between fasteners. Countersink the screw heads slightly so they don’t interfere with the gutter hangers you’ll reinstall in the next step.
A fascia board that’s flush and square before you touch the gutters saves you an afternoon of fighting a crooked gutter line later.
Check for level across the whole run once it’s fastened, using a 4-foot level or a string line if the span is long. A board that dips even a quarter inch will show up as a low spot where water pools in the gutter. Fix it now, while the board is still bare, rather than after you’ve resealed and reinstalled everything.
Step 3. Seal the wood and reinstall your gutters
Priming and painting the new board
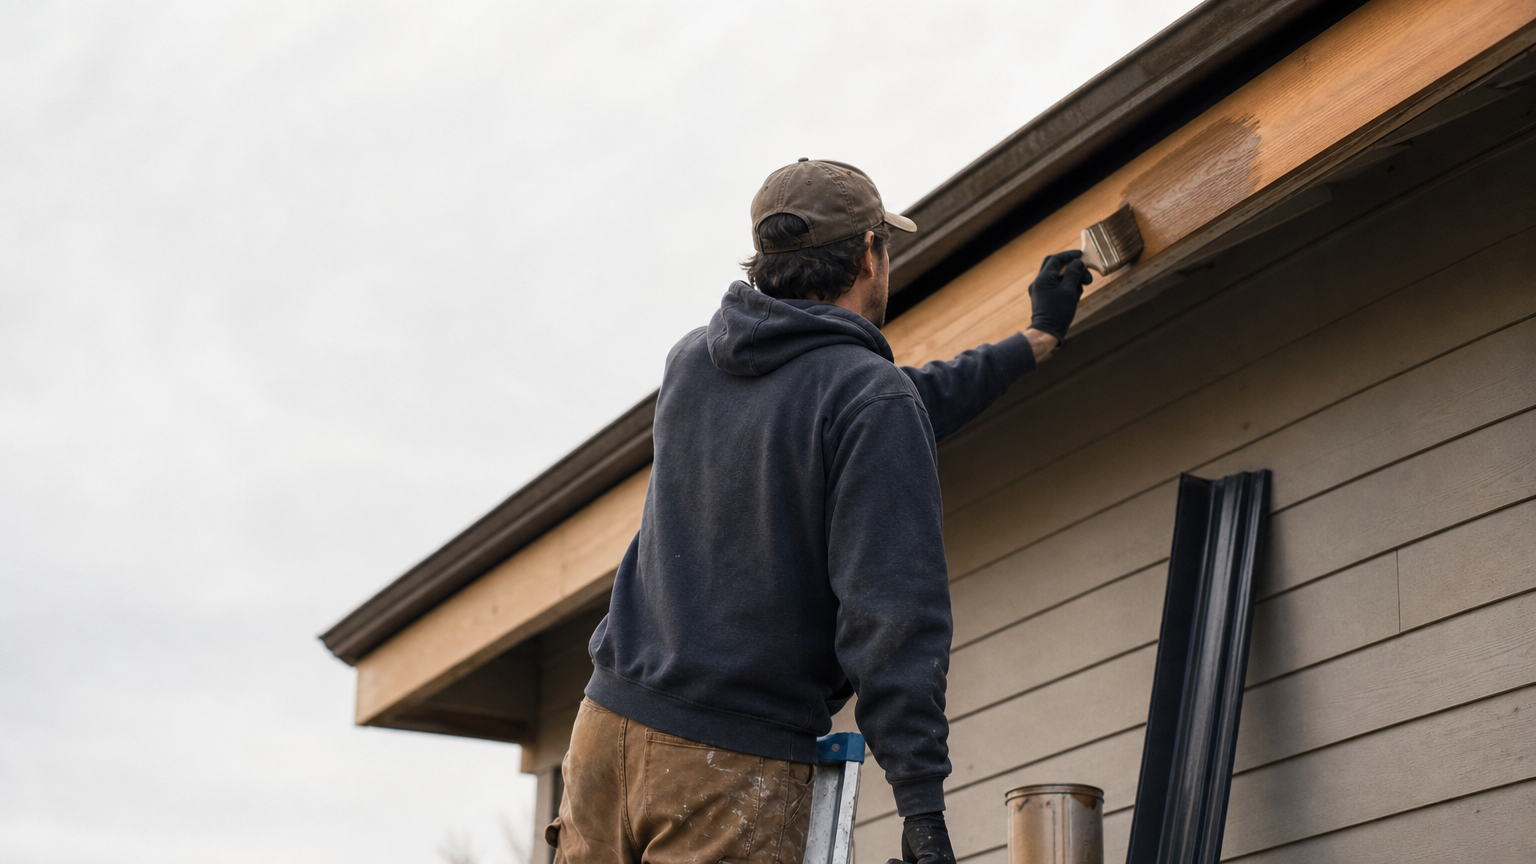
Coat every side of the new fascia board with exterior wood sealer before it goes anywhere near a paintbrush, including the back edge that faces the rafter tails. That hidden side takes on moisture just as fast as the front, and skipping it is the number one reason a "new" board rots again in three years. Let the sealer cure fully, then apply an exterior-grade primer and two coats of paint that match your trim. Run a bead of exterior caulk along the top seam where the board meets the roof edge, and at any butt joints or miters you cut in Step 2.
A sealed board that never sees bare wood again is the difference between a ten-year fix and a two-year one.
Rehanging gutters and hardware
Once the paint is dry, lift the gutter section back into place and reset your hangers at their original spacing, typically every 24 to 36 inches. Drive new hanger screws into solid wood rather than reusing the old holes, which are often chewed out from years of movement. Check your pitch with a level before locking everything down, aiming for a quarter inch of drop per ten feet toward the downspout. Finish by running water through the section with a hose to confirm it drains cleanly and the new fascia stays dry.
DIY repair vs. hiring a professional
A single, easily accessible section of rotted fascia, maybe six to eight feet, is a reasonable weekend project if you’re comfortable on a ladder and own a circular saw. Once the damage wraps a corner, climbs above a second story, or you find soft rafter tails underneath, the math changes fast. Structural rot and steep rooflines are exactly where DIYers get hurt or end up paying a pro twice, once to fix their mistake and once to fix the original problem.
If you need scaffolding or a second person just to hold the ladder steady, you’ve already crossed into hire-a-pro territory.
Cost is the other deciding factor. A DIY board swap runs mostly the price of lumber, sealer, and screws, often under $150 for a short run. Professional fascia gutter repair typically lands between $300 and $600 per section once labor, disposal, and gutter reinstallation are factored in, more if the crew finds hidden rot in the sub-fascia, and a full gutter, soffit, and fascia replacement cost climbs from there.
| Factor | DIY | Professional |
|---|---|---|
| Cost per section | $75 to $150 (materials) | $300 to $600 (labor + materials) |
| Time | Half a day to a full weekend | 2 to 4 hours |
| Best for | Small, ground-level, single-board repairs | Multi-story, wraparound, or structural rot |
| Risk | Ladder falls, missed rot | Minimal with a licensed crew |
Running your own numbers first helps you spot a fair quote versus an inflated one. Try our cost estimator to see a realistic range for your home, then get your gutter repair quoted by a local pro if the scope is bigger than a Saturday project.
Keeping your fascia and gutters in good shape
Fascia rot rarely stays contained to one spot, so check behind your gutters every spring and fall, especially after a hard winter. Keeping the gutters clear is your best defense here, since standing water and overflow are what softened that board in the first place. A five-minute look with a flashlight catches problems while they’re still a caulk-and-paint fix, not a full board replacement.
Once you’ve patched the damage, don’t let it happen twice. Guards keep leaves and grit from packing into the trough and forcing water over the edge onto your fascia, which is the whole cycle that got you here. Installed gutter guard prices come in well under a second round of fascia repair, and guards cut your cleaning schedule down to almost nothing.
If you’re ready to stop this from recurring, compare free gutter guard installation quotes from local pros and see what it would cost to protect the work you just finished.
What should this cost you?
Answer four questions and get a fair price range for your home.